
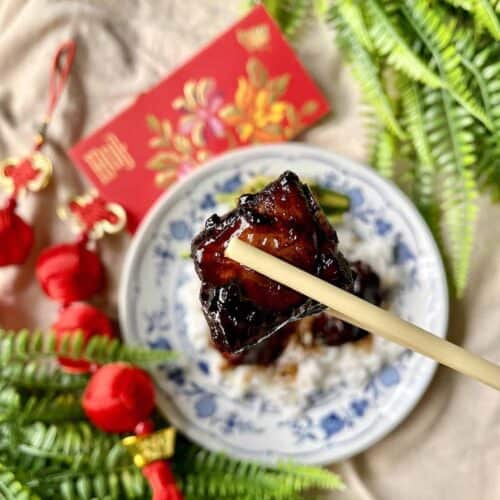
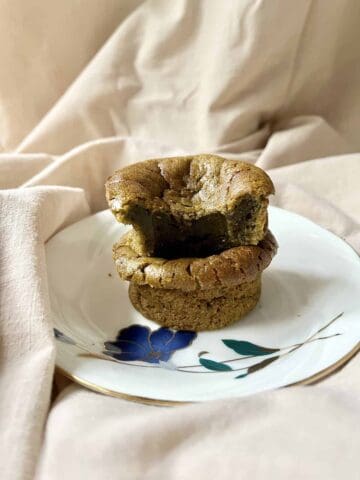
Custard Bao Bun with Salted Egg Filling 流沙包 is a sweet and savory Chinese bun with a molten filling that is often served as a dessert or a snack. This recipe was inspired by a Dim Sum course I took in Singapore- I'll be honest, making bao buns isn't super easy as there are a number of steps, but I've tried to make it as straightforward as possible.

Ingredients
You need a few simple ingredients to make the dough for Custard Bao Bun with Salted Egg Filling 流沙包. (This dough can also be used for pork bao buns and more.):
- Hong Kong Flour: this is a special type of flour used for Chinese dim sum- it gives a whiter result than regular flour. (However, without dough improvers, it still wouldn't be as white as commercial buns.) If you can't find Hong Kong flour in your Asian supermarket, you can substitute with cake flour. Don't forget to sift!
- Baking powder: sifted
- Instant dry yeast: do not let this come into contact with the salt, as salt kills yeast.
- Caster Sugar
- Salt
- Milk: I prefer whole milk but, in a tight pinch, you can use water too
- Oil: use a neutral vegetable oil, not olive oil.
- Parchment paper: cut into 5 inch squares to place under the sweet bao buns
For the salted egg filling (which needs to be made the day before):
- Salted egg yolk: ducks eggs are traditional but I also use salted chicken eggs. They're easy to DIY at home- click through for the homemade recipe (and here for other ways to use salted eggs. Don't ditch the whites- you can use salted egg whites in these recipes.)
- Salted butter
- Gelatine powder
- Cold water
- Caster sugar
- Evaporated milk: not to be confused with condensed milk
- Coconut milk
- Custard powder
- Milk powder
🥢 suggested accompanying recipes
Enjoyed this Chinese Salted Egg recipe? Please leave a 5-star 🌟🌟🌟🌟🌟rating in the recipe card below & if you REALLY found this sweet & savory Dim Sum delicious, a comment would make my week! Thank you and have a great day!
Custard Bao Bun with Salted Egg Filling 流沙包
Equipment
- 1 steamer You can use a regular steamer but a bamboo steamer works best. If using a regular metal steamer, carefully wrap the lid in cloth to absorb the steam so that the liquid doesn't drop back on the buns, and a leave a small gap when covering. (Make sure you're using an electric fire, not gas one, as you don't want the cloth to accidentally catch fire!)
- 1 Steaming Cloth Placed under the bao buns
- 2 Metal Bowls For mixing
- 1 Ice cream scoop
- 1 parchment paper Cut into 5 inch squares to place under the sweet bao buns
Ingredients
For the salted egg filling (which needs to be made the day before)
- 4.23 oz Cold water + extra 1.05oz/ 30g to bloom the gelatine
- 4-5 Salted egg yolk ducks eggs are traditional but I also use salted chicken eggs. They're easy to DIY at home- click through for the homemade recipe. I use 4 ducks egg yolks or 5 chicken eggs yolks (the latter is usually smaller.)
- 1.41 oz Salted butter 40g
- 1.41 oz Caster sugar 40g
- 1.41 oz Evaporated milk 40g
- 1.41 oz Coconut milk 40g
- 0.35 oz Custard powder 10g
- 0.35 oz Milk powder 10g
- 0.21 oz Gelatine powder 6g
For the bao bun dough
- 9.88 oz Hong Kong Flour 280g, sifted. Substitute: cake flour
- ½ teaspoon Baking powder sifted
- 1 teaspoon Instant dry yeast Do not let this come into contact with the salt, as salt kills yeast.
- 0.53 oz Caster Sugar 15g
- 5.3 oz Whole Milk 150g
- 1 Tablespoon Oil Use a neutral vegetable oil not olive oil.
- ¼ teaspoon Salt
Instructions
A. For the filling (6.5 hours before or the day before)
- In a small bowl, sprinkle the gelatine powder in cold water. Leave for 10 minutes till the gelatine mixture is thickened like jelly.
- In a food processor, mix the salted egg yolks, evaporated milk, coconut milk, custard powder and dry milk powder till smooth and well combined. For a finer result, sieve the mixture. Set aside.
- Pour 120g/ 4.2 oz of cold water and the bloomed gelatine (from step 1) into a small pot. Over medium heat, heat the mixture till the gelatine is dissolved.
- Add in the sugar and salted butter, stirring till the sugar and butter are fully dissolved.
- Pour in the salted egg yolk mixture (from step 2) and cook till the mixture is thickened like thick cream. (Do not increase the heat past medium and keep stirring to prevent burning. Thickening may take 5 to 10 minutes.)
- Pour the salted egg yolk mix into an airtight container but do not cover- allow the mixture to cool down. Once cooled, refrigerate till firm and cold for at least 6 hours (or overnight for best results.)
- Once the egg yolk custard is hardened, use an ice-cream scoop to scoop out 10 to 12 equal portions (about 0.5-0.7 oz/ 16-20g each). Cover and place back in the chiller till you want to wrap the bao.
B. For the Bao Dough
- If the salt comes into contact with the yeast too early, it will kill the yeast. To prevent this from happening, we are going to use 2 bowls when mixing. Divide the flour into the 2 bowls (you don't have to weigh the flour as you don't need to be exact.)
- In the 1st bowl, add the baking powder, yeast, sugar and liquid. Mix well for 1-2 minutes to activate the yeast.
- In the 2nd bowl, mix the salt, flour and salt well. After 3 minutes, pour the mixture in the 2nd bowl to the 1st bowl. Add in the oil and combine everything into a dough.
- Knead the dough by hand for 3-5 minutes till it forms a smooth dough. 1st proofing: Place the mixing bowl over the dough to cover it and let it rest for 1 hour at room temperature or until it doubled the size. (The time taken will differ depending on your climate.)
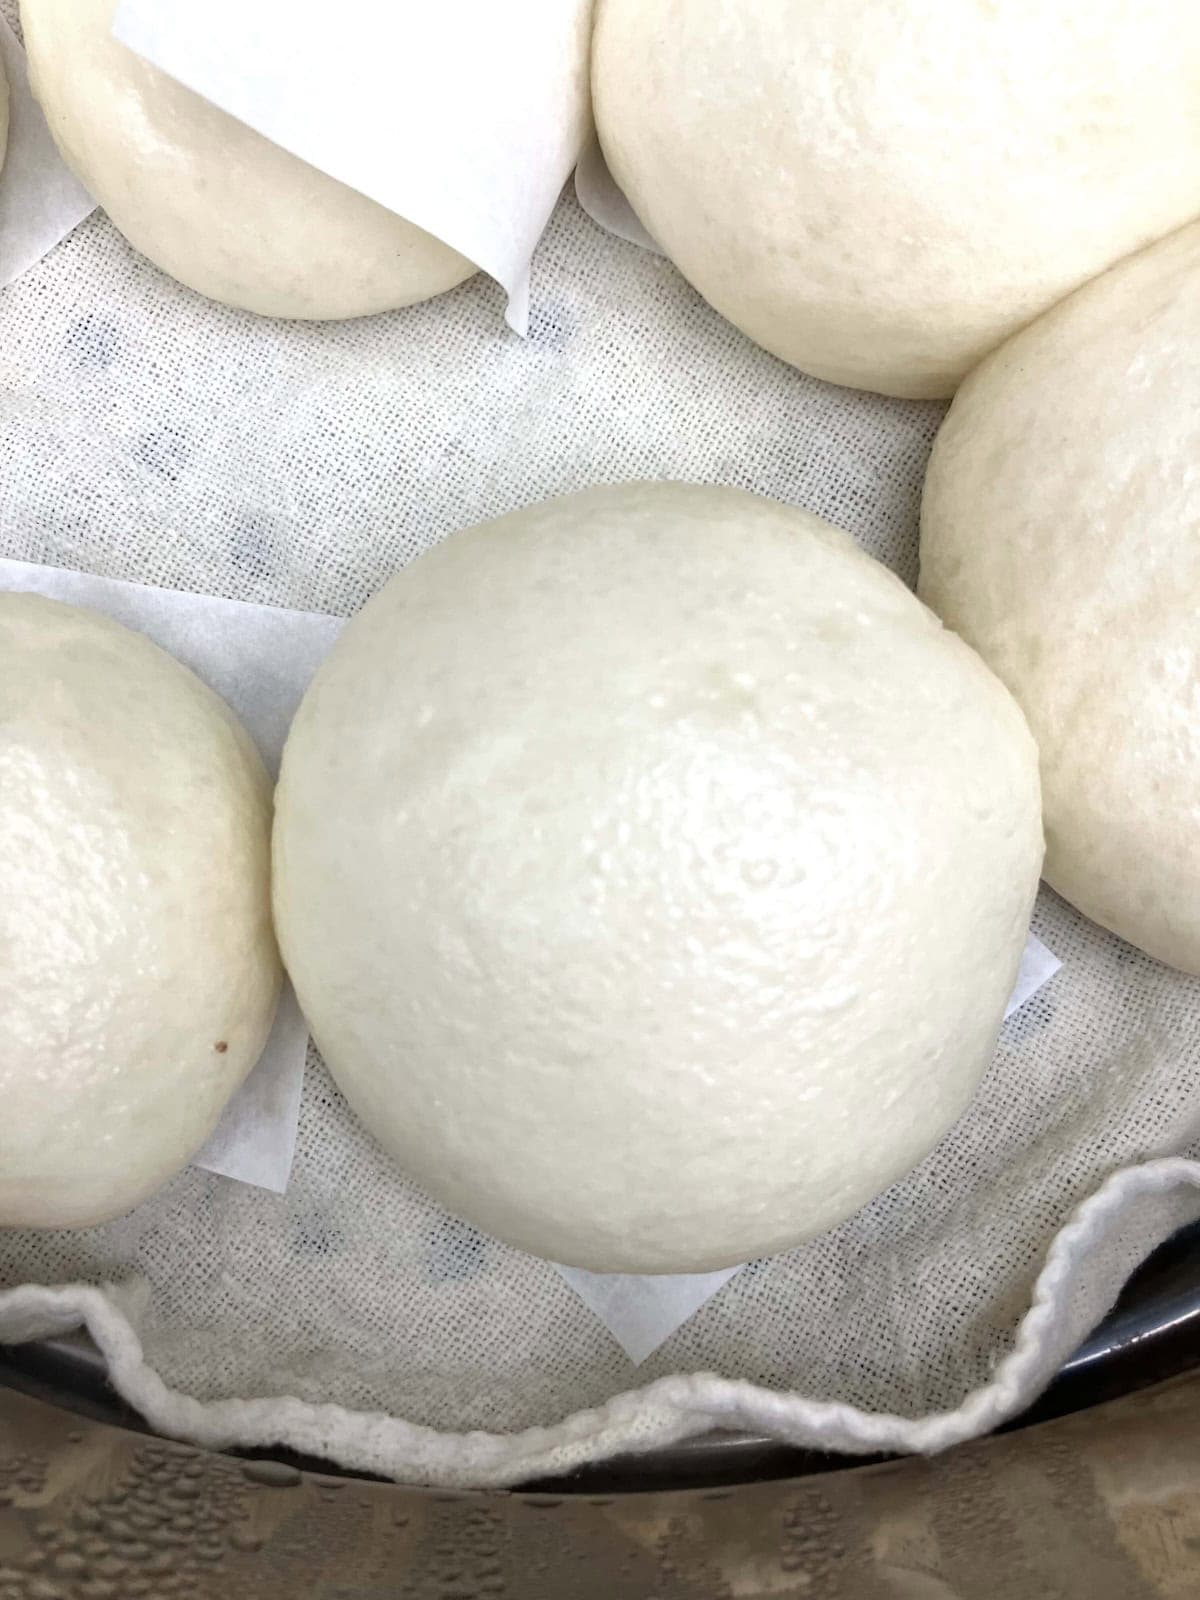
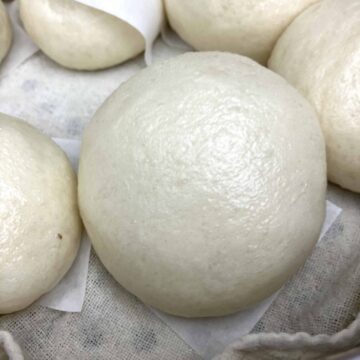
- After the dough has doubled in size, degas by punching the dough. Divide it into 10-12 portions: if you want to be exact, each portion should weigh 1.2-1.4 oz/ 35 – 40g. Shape each portion into a ball, cover and let them rest for 5-10 minutes to relax the gluten.
- After resting, take 1 portion out to wrap around 1 frozen salted egg custard filling. (The filling should be fully enclosed.)Place the bun on 1 piece of the cut-out parchment paper, seam side down. Repeat till you've wrapped all the buns.
- 2nd proofing: Cover and let the wrapped buns rest for 20 minutes.
- After 15 minutes, bring the water to a boil in a steamer. Once we hit the 20 minutes mark (i.e. end of 2nd proofing), steam the buns over medium heat for 7 minutes, or till cooked. Tip: Do NOT use high heat or the bao skin will wrinkle. Once cooked, allow the buns to sit in the covered steamer for 5 minutes- this prevents the skin from shrinking.
Notes
Note: the nutritional information is an estimate automatically calculated using the WPRM recipe maker and I am not responsible for its veracity.
Nutrition
If this Chinese snack recipe was helpful, maybe you'd like to sign up for my Asian food newsletter?

Comments
No Comments