
This Easy Korean Bibimbap with chicken thigh and veg is a simple but delicious Rice Cooker Recipe for Asian family dinners. You can use store-bought bibimbap sauce but I also show you how to make homemade bibimbap sauce from scratch- it's the perfect Korean mixed rice bowl for lazy weeknight dinners!

This is obviously a modified Korean recipe for lazy days (real bibimbap is mixed in a dolsot on the table not in your rice cooker!)- for authentic Korean recipes like the ones seen on K Pop Demon Hunters, click here.
🍚 Ingredients
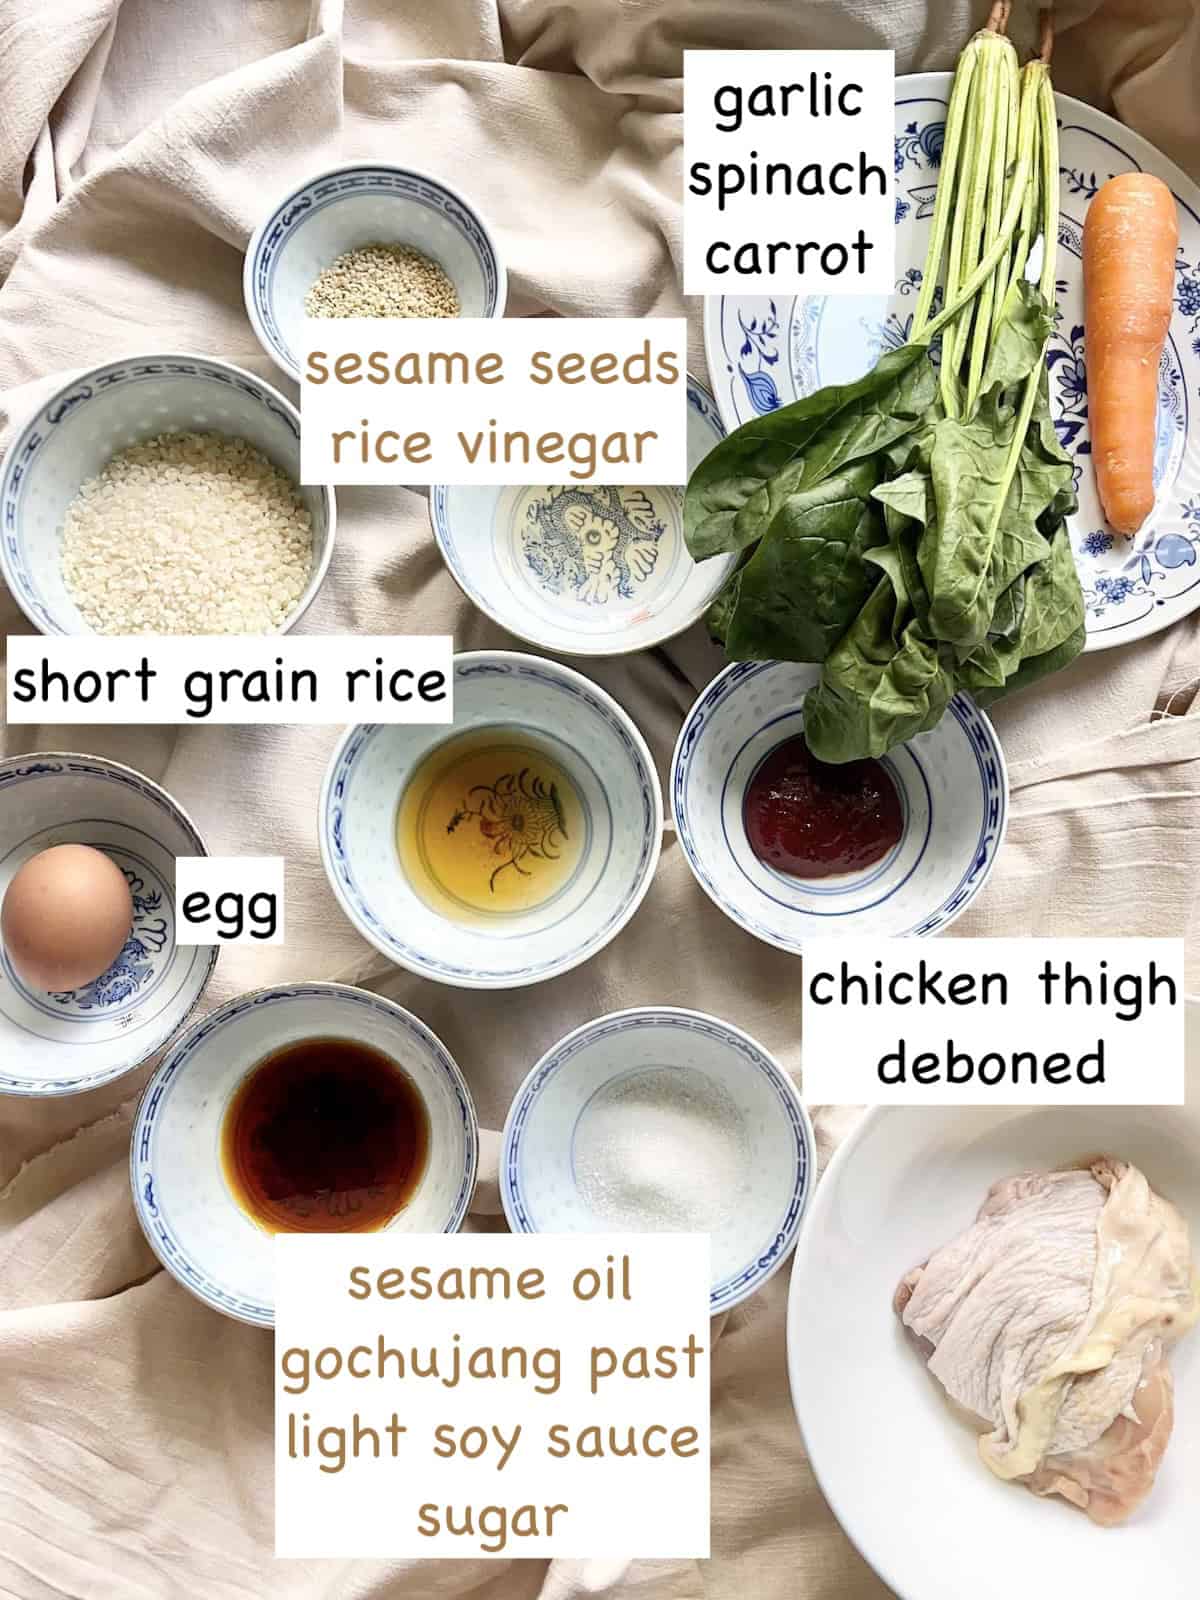
You will need a few simple ingredients for this Korean rice cooker recipe:
- 1 Cup of rice: I used short grain rice but you could also use jasmine rice
- 1 cup of water: check your rice cooker/ rice for instructions- if they differ follow those instead.
- chicken thigh, boneless: I left some of the skin on but it will add oil the the rice. I personally find it tastier but too much oil can make it greasy so feel free to remove the skin if you prefer. You can substitute with an equal amount of chicken breast, I just find dark meat juicier and more flavourful.
- 3 cloves of garlic: do not omit- garlic is a core ingredient in Korean cooking. Peel and mince.
- 1 carrot: cut into sticks. Add when you see your rice cooker starting to emit steam (i.e. it's at the end of the cooking process)
- 1 egg: you can fry this or stir it in at the end of the cooking process
- spinach leaves: there is some flexibility regarding the type of vegetables you can add. However, I don't recommend mushrooms as they release water which could make your rice soggy.
- a teaspoon of lightly toasted sesame seeds
- spring onions: the sauce is quite heavy and the spring onions bring some freshness to it, so don't omit this garnish.
For the bibimbap sauce, you can use store-bought pre-mixed (in the squeeze bottle) OR mix your own with the following ingredients:
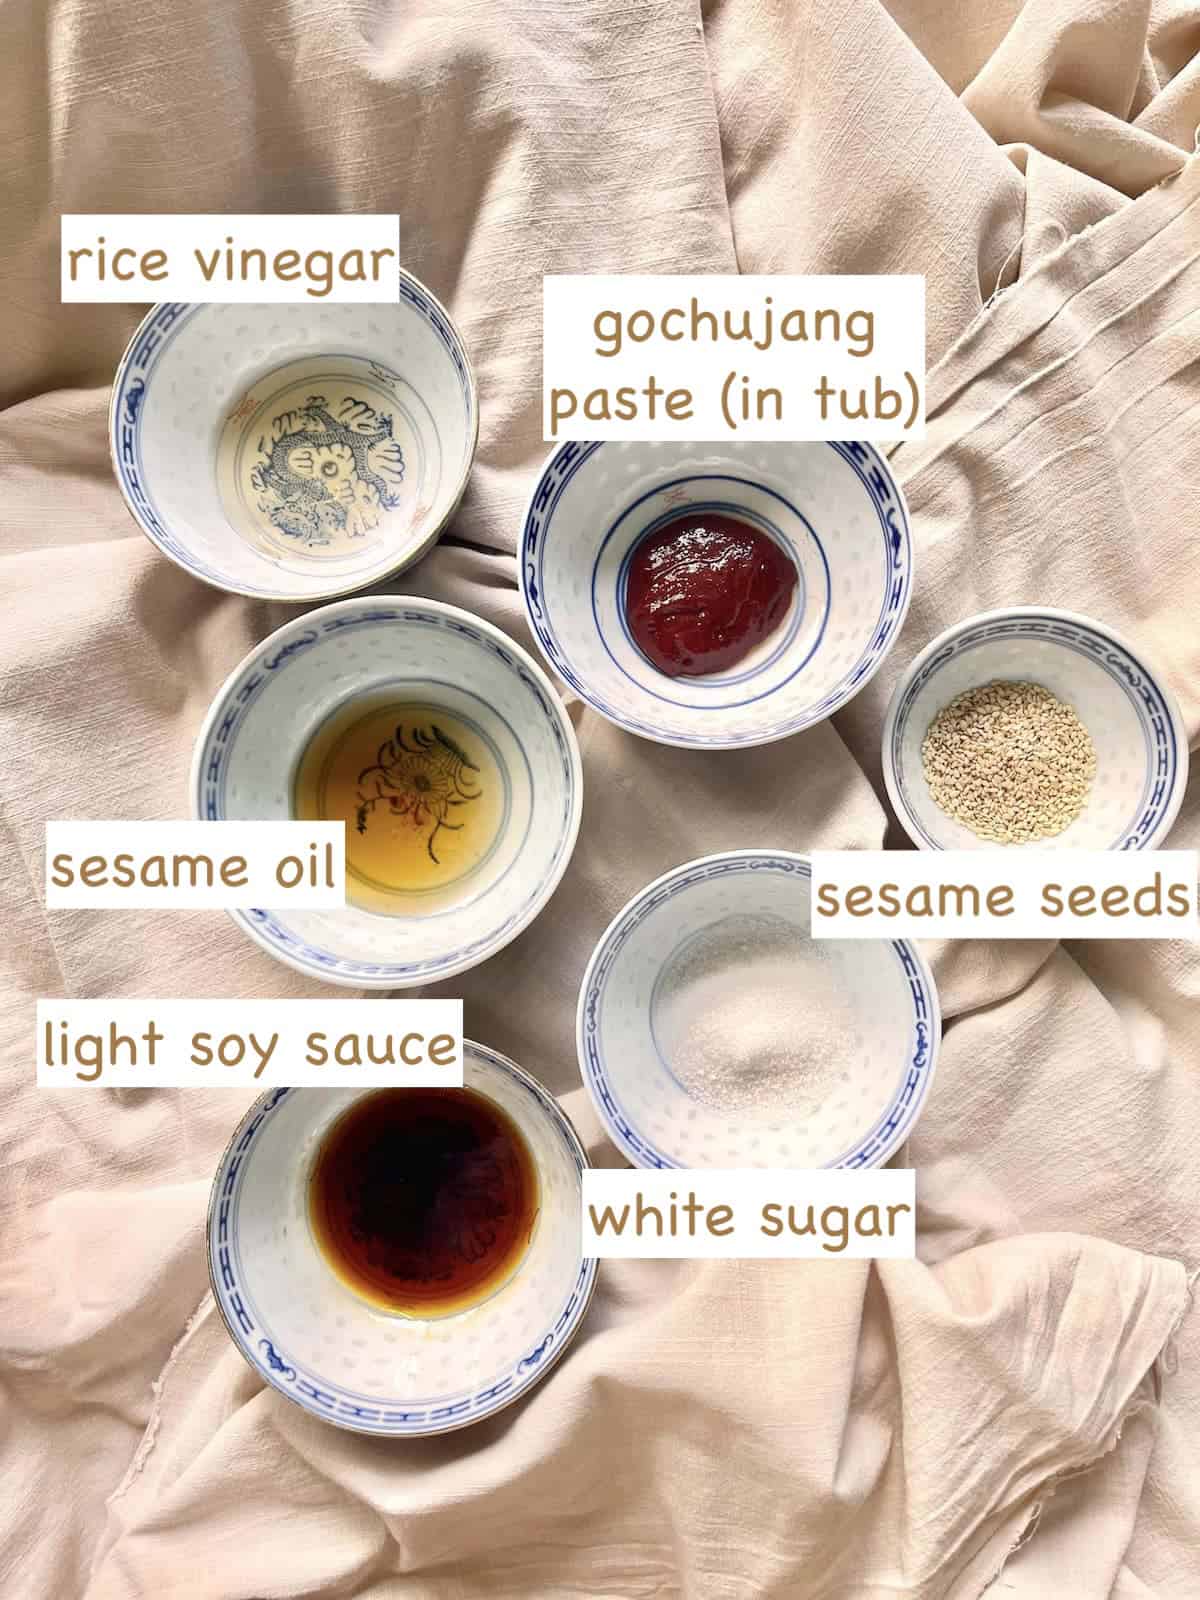
- 2 Tablespoons light soy sauce
- 2 Tablespoons sesame oil: if you left the skin on the chicken, reduce the amount of sesame oil, if not it will taste greasy.
- 1 Tablespoon gochujang paste: I personally prefer 2 Tablespoons but some tasters found it too spicy (even though they do take chili) hence I reduced to 1 Tablespoon to be on the safe side. As the sauce is stirred in at the end of the cooking process, you can taste and increase the gochujang if necessary. This gochujang comes in a red tub usually- there's another type which comes in a squeezy bottle- that is gochujang SAUCE which is usually already mixed and seasoned, so not what you're looking for.
- 1 Tablespoon sugar: you can substitute with a neutral honey. (This may be obvious but please don't use a thyme flavored honey or something like that!)
- 1 teaspoon rice vinegar: you can also use apple cider vinegar
Tip: Korean food goes really well with cheese, so you could finish the dish with some shredded cheese. Stir it into the hot rice to melt it!
🔪 Step-by-Step Instructions
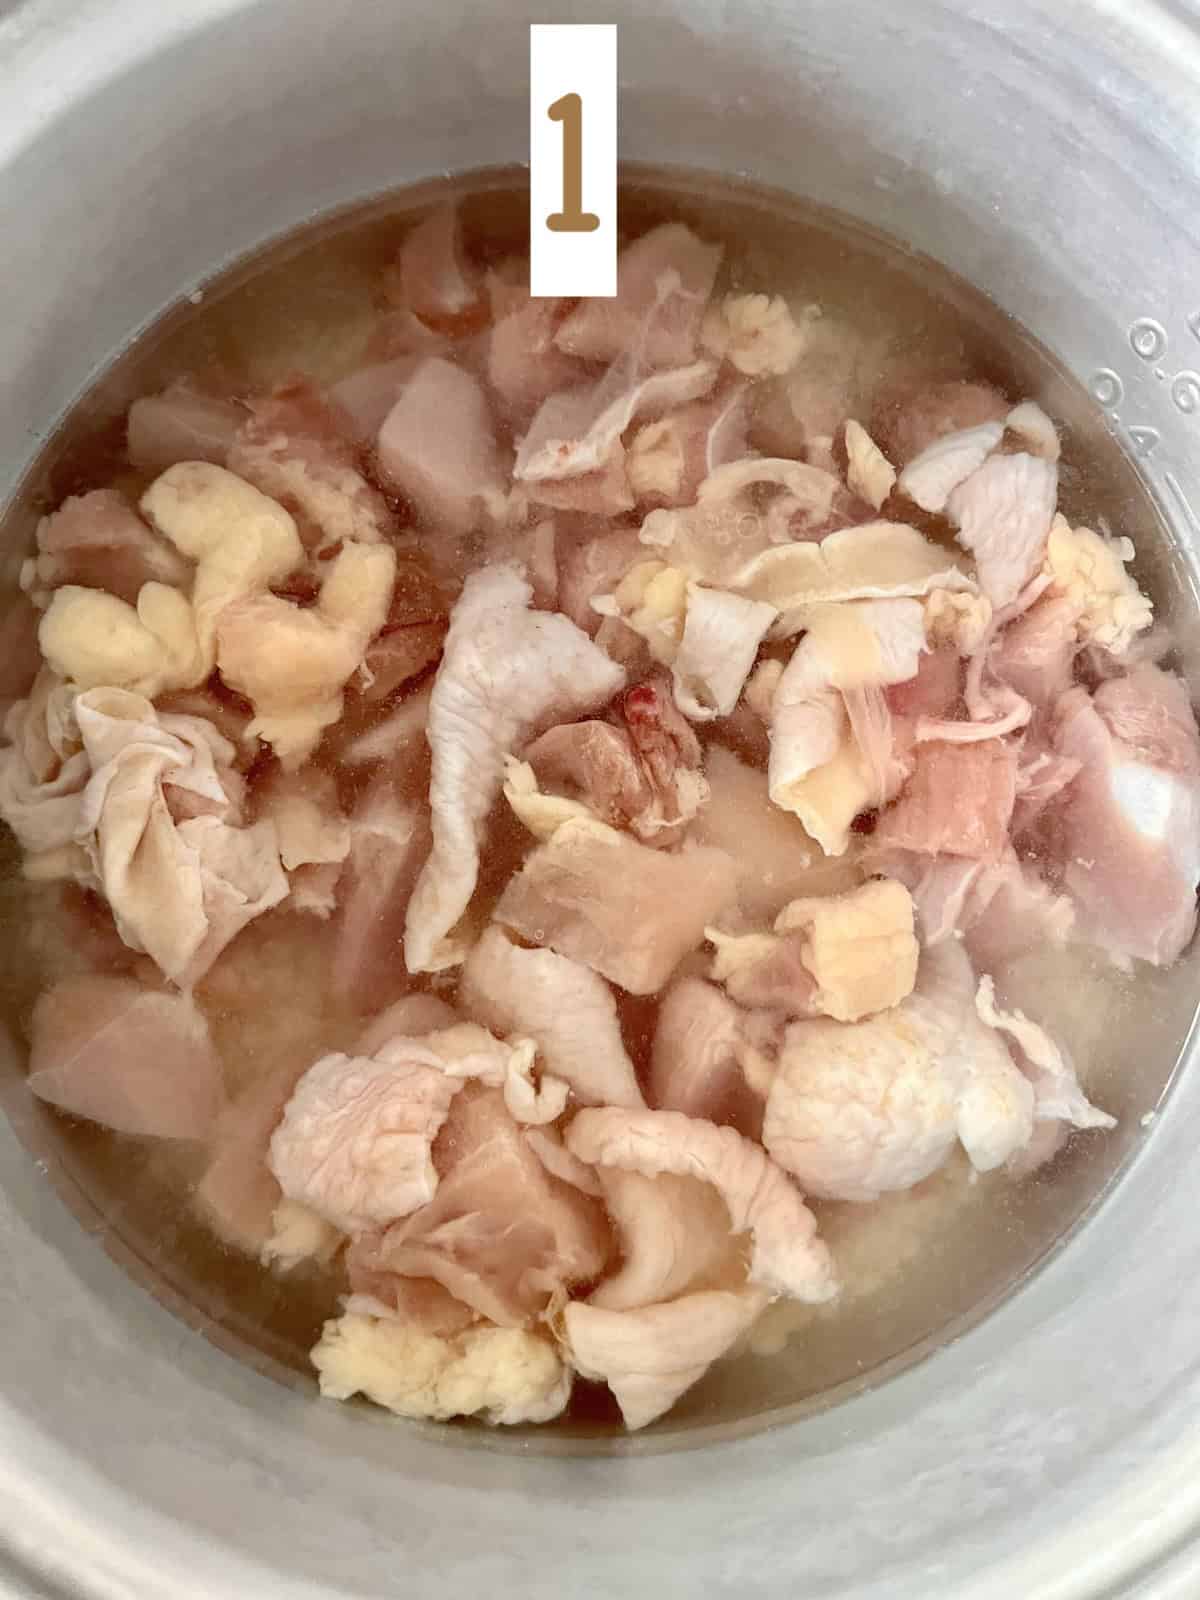
- Wash the cup of rice till the water runs clear- usually about 3 times.
- Add 1 Cup of water (or the amount of water stipulated on the rice packet) and the rice to your rice cooker pot.
- Cut the chicken into 1 inch pieces and mince the garlic, then add them to the rice cooker and start the rice cooker.
- Mix the sauce ingredients well- the gochujang paste is thick so it will take some effort to mix it into the other sauces.
- Use the rice cooking time to julienne the carrot, slice the spring onions and lightly toast the sesame seeds (if not already toasted.) Wash the spinach and squeeze out as much water as possible. (You should be done before the rice cooker finishes!)
- Everyone's rice cooker takes a different amount of time but look out for steam coming out from the top, which is a sign that we're nearing the end of the cooking cycle. (For me this took about 15 minutes.)
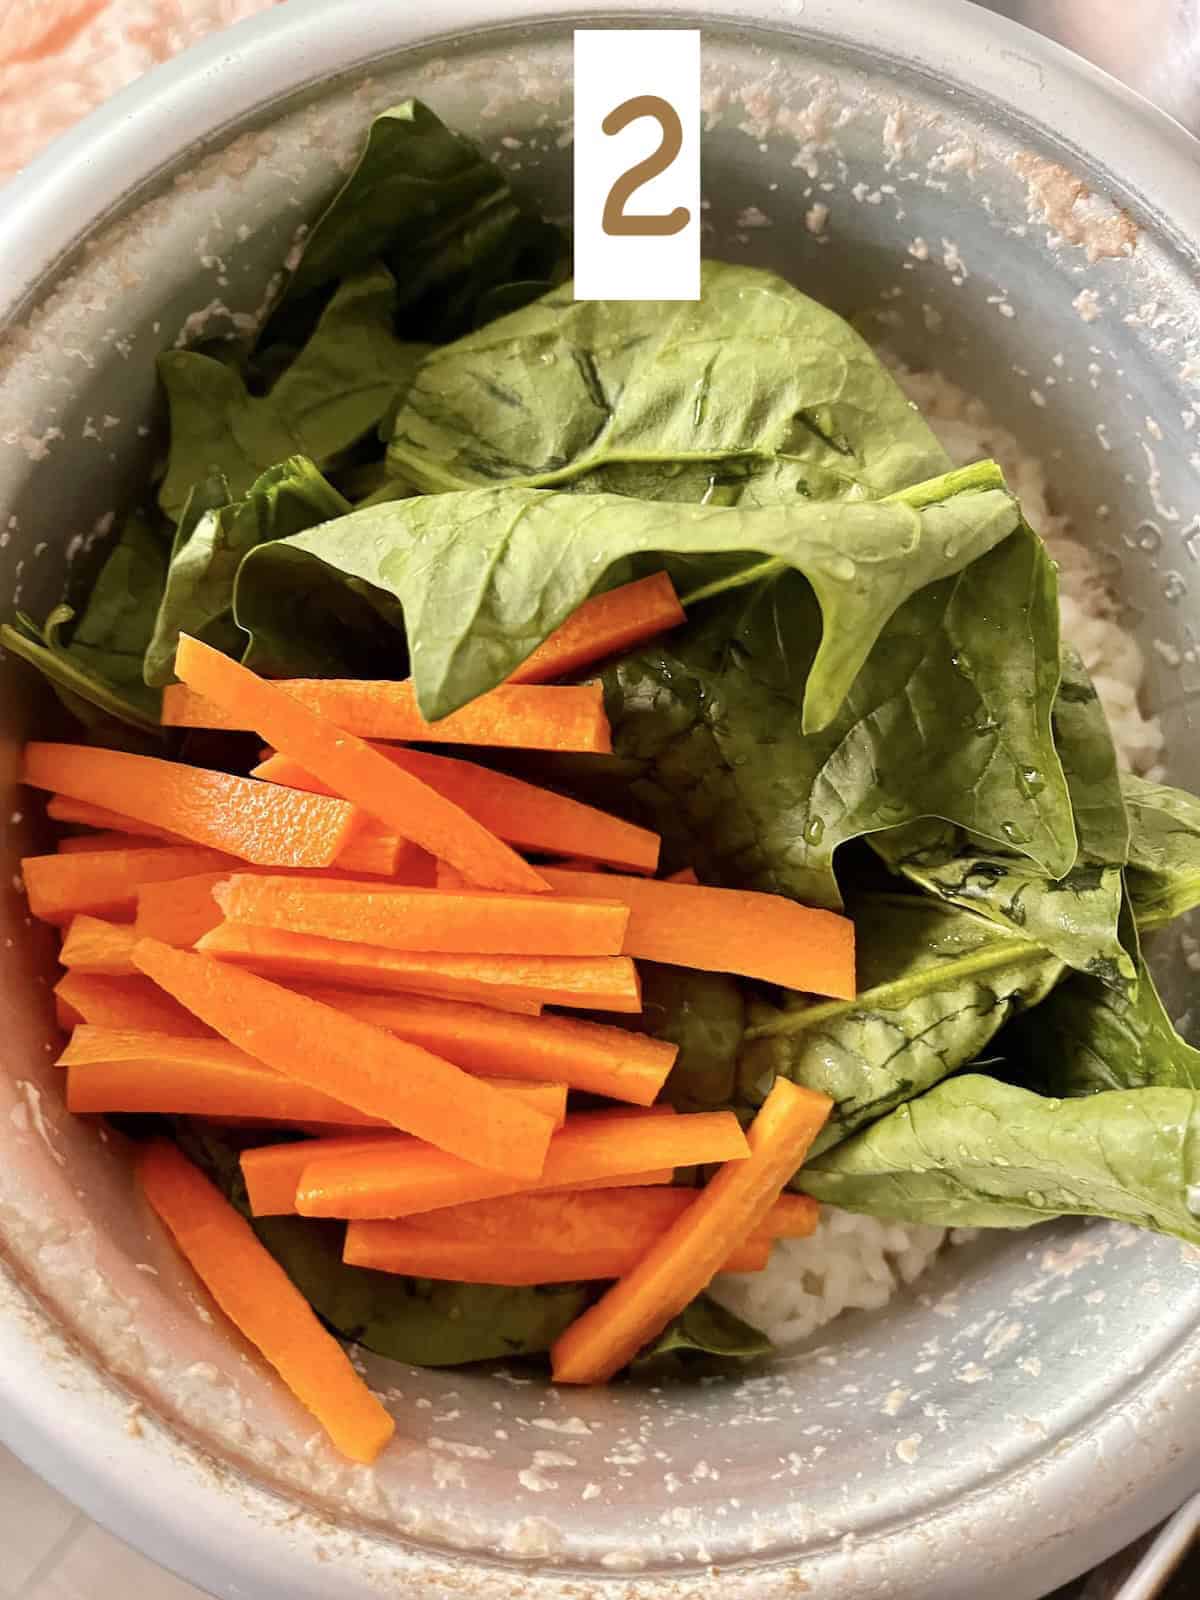
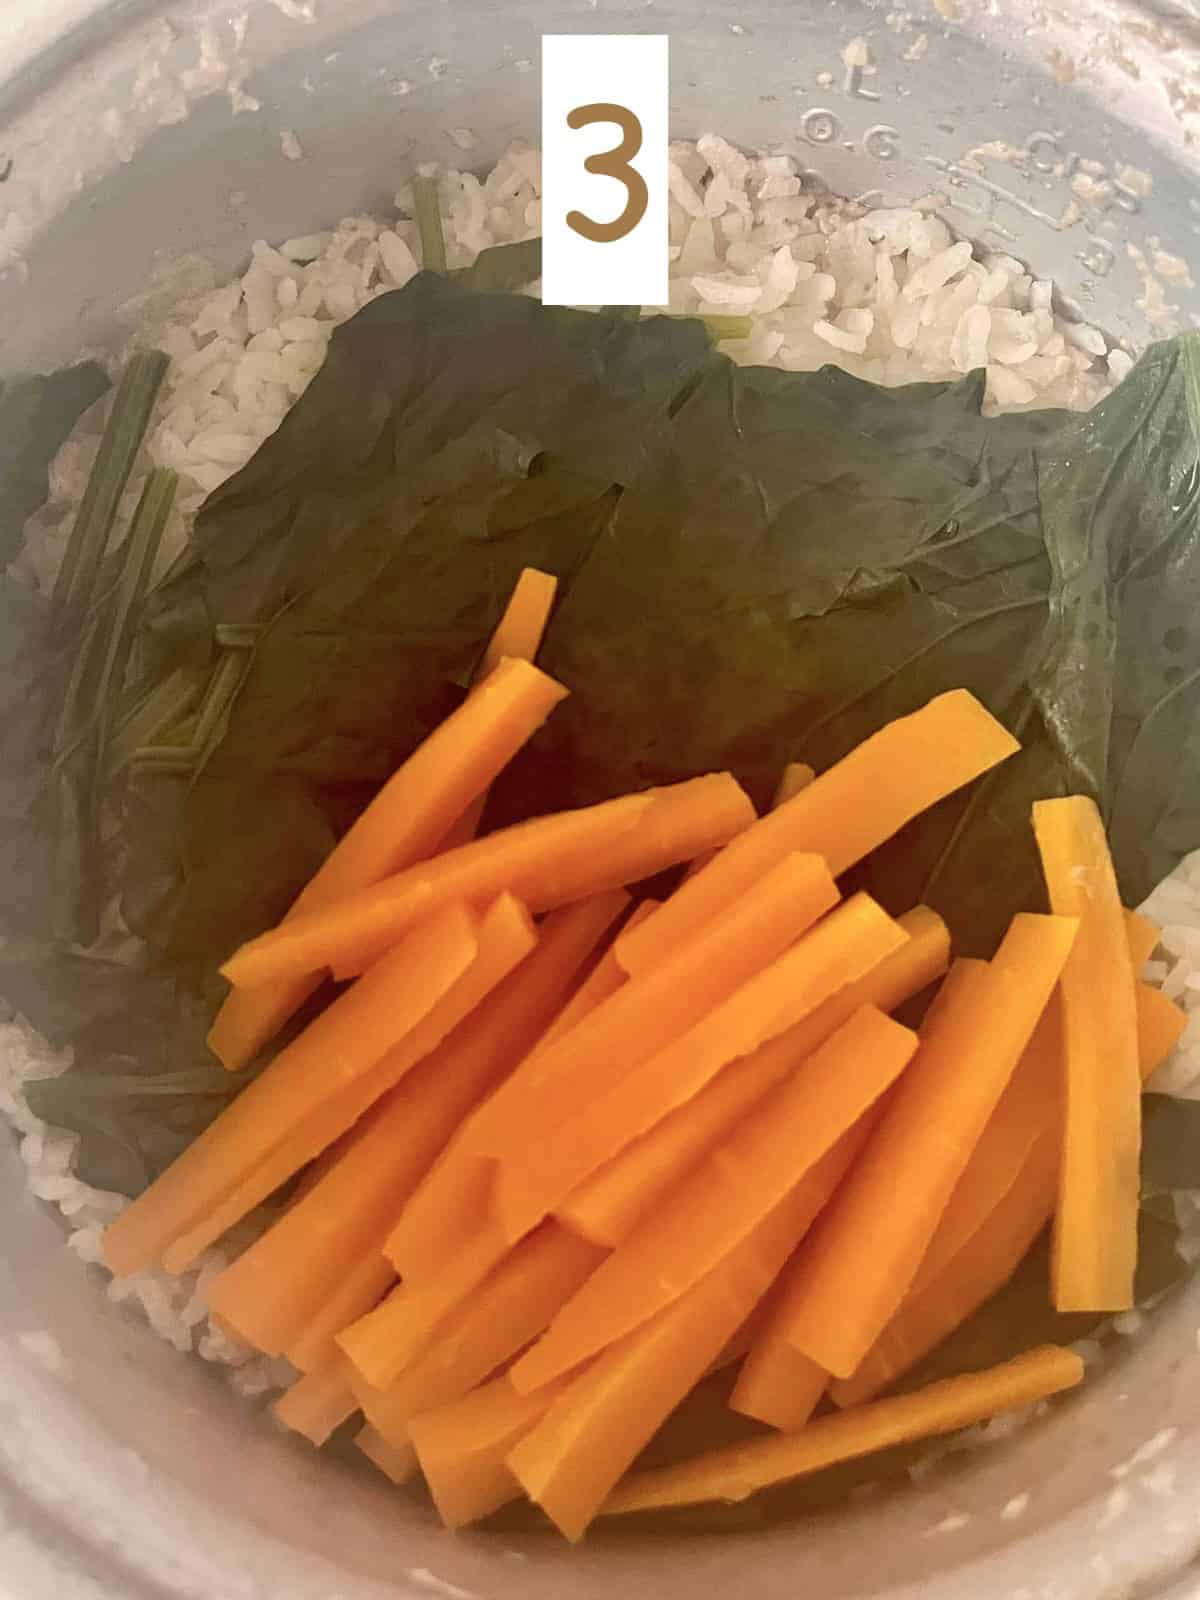
- When you see the steam, carefully open the rice cooker (be careful of the hot air) and add in the carrot and spinach. (This took my cooked 15 minutes.) Close the rice cooker again.
- Use the time whilst the veg is cooking to fry your egg. (You can also choose to crack the egg directly into the cooked rice later, and mix it with the hot rice to cook it. If you do this, please use pasteurised eggs for food safety.)
- Once the rice cooker has finished (took mine another 15 minutes), open the cover, pour in the sauce (mix it before you pour it in) and stir everything together. Garnish with the fried egg, sesame seeds and spring onions, then enjoy!
- Note: If you wanted to skip frying the egg, you would also crack in the egg at this time. However, give it a few minutes to "cook" the egg before eating your bibimbap!)
🥡 How to Store
Rice goes bad very quickly so it can't be left out at room temperature for too long.
🥗 Suggested Accompanying Recipes
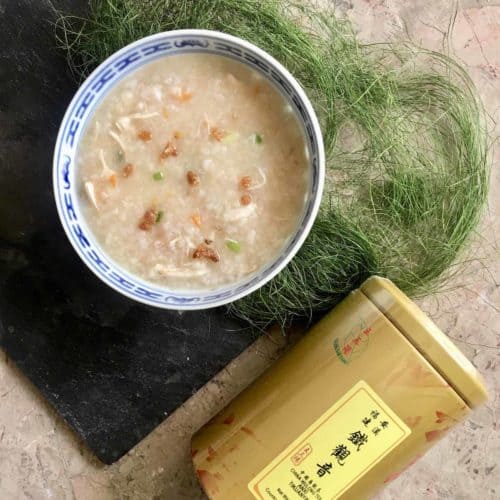
Enjoyed this easy Korean Spicy Rice Recipe? Please leave a 5-star 🌟🌟🌟🌟🌟rating in the recipe card below! If you REALLY liked this Korean dish, please consider supporting it by buying me a bottle of soy sauce! 🙂 (No obligation though!) Thank you and have a great day!
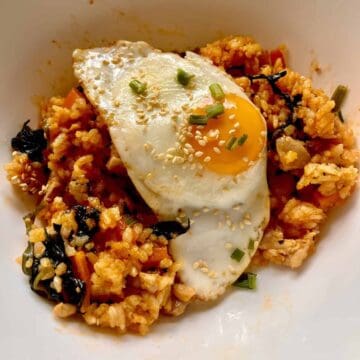
Easy Korean Bibimbap with chicken (Rice Cooker)
Ingredients
- 1 Cup rice I used short grain rice but you could also use jasmine rice
- 1 Cup water check your rice cooker/ rice for instructions- if they differ follow those instead.
- ¼ lb chicken thigh boneless: I left some of the skin on but it will add oil the the rice. I personally find it tastier but too much oil can make it greasy so feel free to remove the skin if you prefer. You can substitute with an equal amount of chicken breast, I just find dark meat juicier and more flavourful.
- 3 cloves garlic Peel and mince
- 1 carrot peel, cut into sticks.
- 1 handful spinach leaves
For the bibimbap sauce, you can use store-bought pre-mixed (in the squeeze bottle) OR mix your own with the following ingredients
- 2 Tablespoons light soy sauce
- 2 Tablespoons sesame oil if you left the skin on the chicken, reduce the amount of sesame oil, if not it will taste greasy.
- 1 Tablespoon gochujang sauce I personally prefer 2 Tablespoons but some tasters found it too spicy (even though they do take chili) hence I reduced to 1 Tablespoon to be on the safe side. As the sauce is stirred in at the end of the cooking process, you can taste and increase the gochujang if necessary. Note that changing the spice level usually requires you to change the amount of sugar added too.
- 1 Tablespoon sugar you can substitute with a neutral honey
- 1 teaspoon rice vinegar you can also use apple cider vinegar but it makes the dish a tad sweeter.
Garnish
- 1 egg
- 1 teaspoon sesame seeds lightly toasted
- 1 sprig spring onions
Instructions
- Wash the cup of rice till the water runs clear- usually about 3 times. Add 1 Cup of water (or the amount of water stipulated on the rice packet) and the rice to your rice cooker pot.
- Cut the chicken into 1 inch pieces and mince the garlic, then add them to the rice cooker and start the rice cooker.
- Mix the sauce ingredients well- the gochujang paste is thick so it will take some effort to mix it into the other sauces.
- Use the rice cooking time to julienne the carrot, slice the spring onions and lightly toast the sesame seeds (if not already toasted.) Wash the spinach and squeeze out as much water as possible. (You should be done before the rice cooker finishes!)
- Everyone's rice cooker takes a different amount of time but look out for steam coming out from the top, which is a sign that we're nearing the end of the cooking cycle. (For me this took about 15 minutes.) When you see the steam, carefully open the rice cooker (be careful of the hot air) and add in the carrot and spinach. Close the rice cooker again.Use this time to fry your egg. (You can also choose to crack the egg directly into the cooked rice later, and mix it with the hot rice to cook it. If you do this, please use pasteurised eggs for food safety.)
- Once the rice cooker has finished, open the cover, pour in the sauce (mix it before you pour it in) and stir everything together.
- Garnish with the fried egg, sesame seeds and spring onions, then enjoy! (If you wanted to skip frying the egg, you would also crack in the egg at this time. However, give it a few minutes to "cook" the egg before eating your bibimbap!)
Note: the nutritional information is an estimate automatically calculated using the WPRM recipe maker and I am not responsible for its veracity.
Nutrition
If this recipe was helpful, maybe you'd like to sign up for my newsletter in which I send you more tips and tricks to make authentic Asian food?
Comments
No Comments