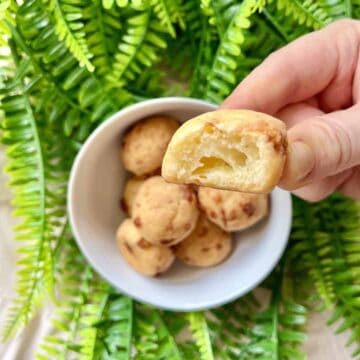
This delicious Cheese Mochi Bread Recipe is crisp on the outside and soft and oozy on the inside! It's also a super easy recipe to get right the first time: you just mix everything and bake. Plus no sugar is used so you don't have to feel guilty about snacking! (No Mixer Needed) (Baked) (Air Fried)

Jump to:
⭐ Why This Recipe is a Star
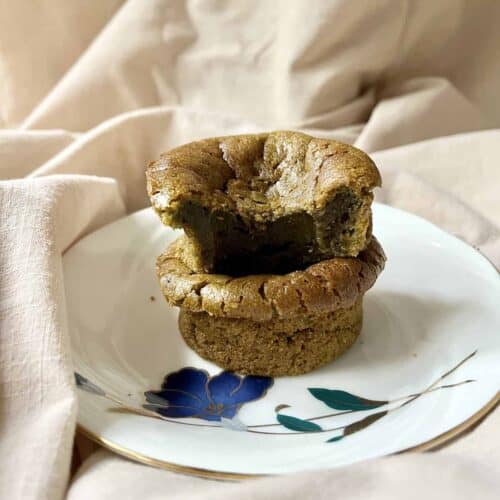
- Deliciously crisp on the outside but soft and chewy on the inside: This Cheese Mochi Bread is similar to Brazilian Cheese Bread (pão de queijo) but made with glutinous rice flour instead of tapioca flour. This flour gives foods such as Japanese mochi and tang yuan a wonderfully chewy texture.
- Simple recipe: you simply mix the ingredients then bake! No complicated techniques involved or exotic ingredients that you need from the Asian grocery store (other than maybe the sticky rice flour although that is now often found with as a gluten-free flour in mainstream supermarkets.)
- Quick: Ready in 30 minutes, perfect for a last-minute snack!
Note: For more Asian bread recipes, click here.
🥘 Ingredients
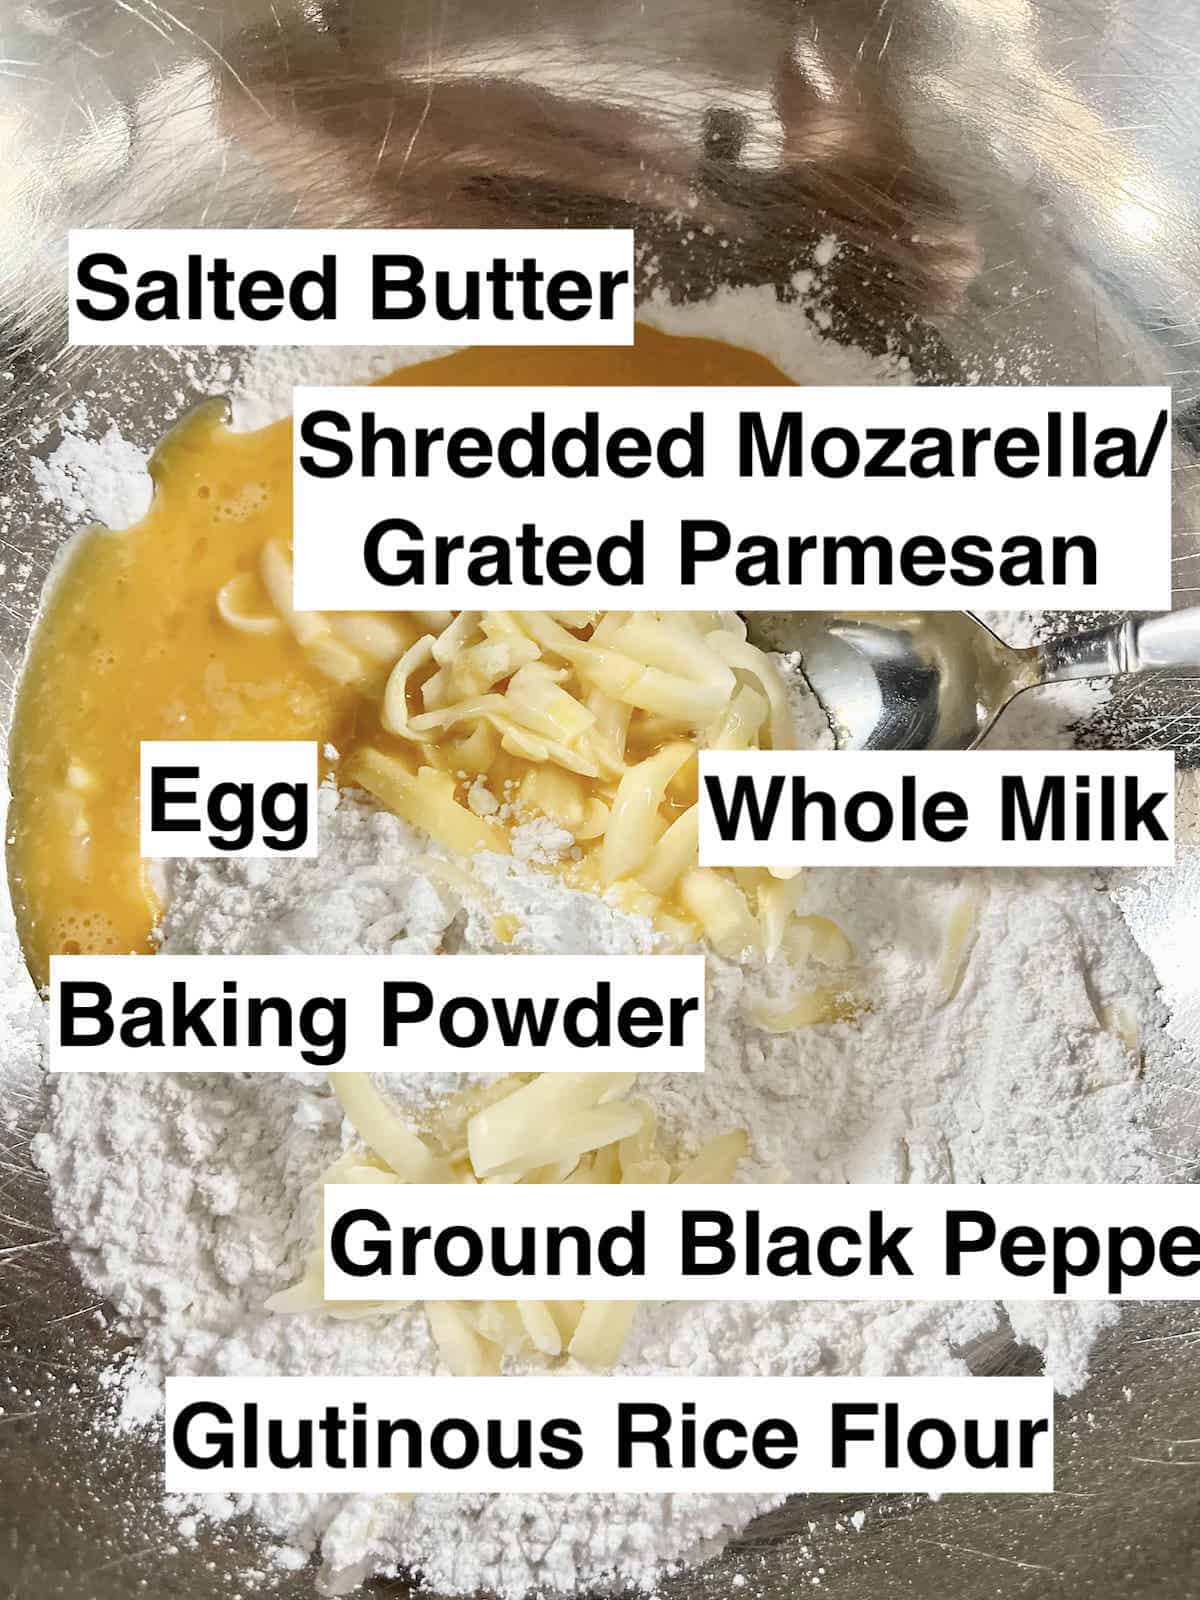
You'll only need a few simple ingredients for this chewy mochi snack:
- glutinous rice flour: Also known as sticky rice flour. You can also use mochiko flour or sweet rice flour. Do not use regular rice flour, bread flour or all-purpose flour! If you want a crunchier crust, you can substitute 1 Tablespoon of glutinous flour for tapioca flour but I use 100% glutinous rice flour to make it easier.
- grated parmesan: you can substitute with a different grated cheese of your choice such as cheddar or mozarella. However, do not be lazy like me and try to use your hands to break the cheese into small pieces instead of grating! If your cheese is not small enough, it will melt and spread everywhere. Moreover, the flavor will not be evenly distributed throughout the bread, so it won't taste as good.
- whole milk: use full fat milk please! I have not tested the recipe with soy milk or coconut milk.
- salted butter: melted. If you use unsalted butter, you'll need to supplement with half a teaspoon of salt. Some recipes use vegetable oil instead but I find it loses the flavor this way.
- large egg: beaten well
- baking powder: not to be confused with baking soda!
- black pepper: not strictly necessary but it does complement the cheese flavor nicely. Chili powder or gochugaru are great alternatives.
- oil spray, optional: You can make the recipe without this but it helps gives the mochi cheese balls a more golden and thus more appetising look. I sometimes add a spray of truffle oil before serving (because high heat can dissipate the truffle flavor.)
Optional ingredients: bacon bits, sliced chives and spring onions go well with cheese.
📖 Variations & Substitutes
- Air fryer: Short on time? Pop them into your pre-heated air fryer at 350F/ 177C/ 157C fan for 5-6 minutes. If you've used oil spray, they should come out crispy and light golden brown when cooked.
- Waffles: I have even cooked this in a waffle machine! (You will need to add more milk if you want it to go down a vertical waffle machine.)
Other Flavors
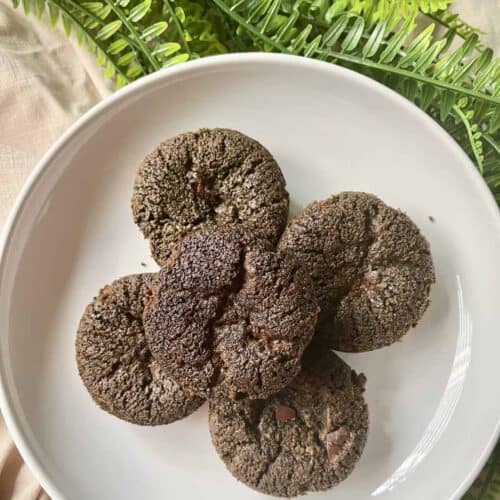
You can also make any flavor of mochi bread, from chocolate mochi bread (use cocoa powder) to green tea or ube mochi bread.
The instructions will vary somewhat so I'm creating separate recipe posts for them instead of listing the differences here.
🔪 Step-by-Step Instructions

Pre-heat the oven to 350F/ 177C/ 157C fan.
If using an air fryer, pre-heat at 350F/ 177C.
- Melt the butter gently over a low fire- or no more than medium heat- in a small pan. Do not let it bubble and boil. Whilst it's melting, beat the egg well.
Note: since it's a small amount, if you're worried about it coming to the boil when you have your eye off it, you can heat it with the milk.
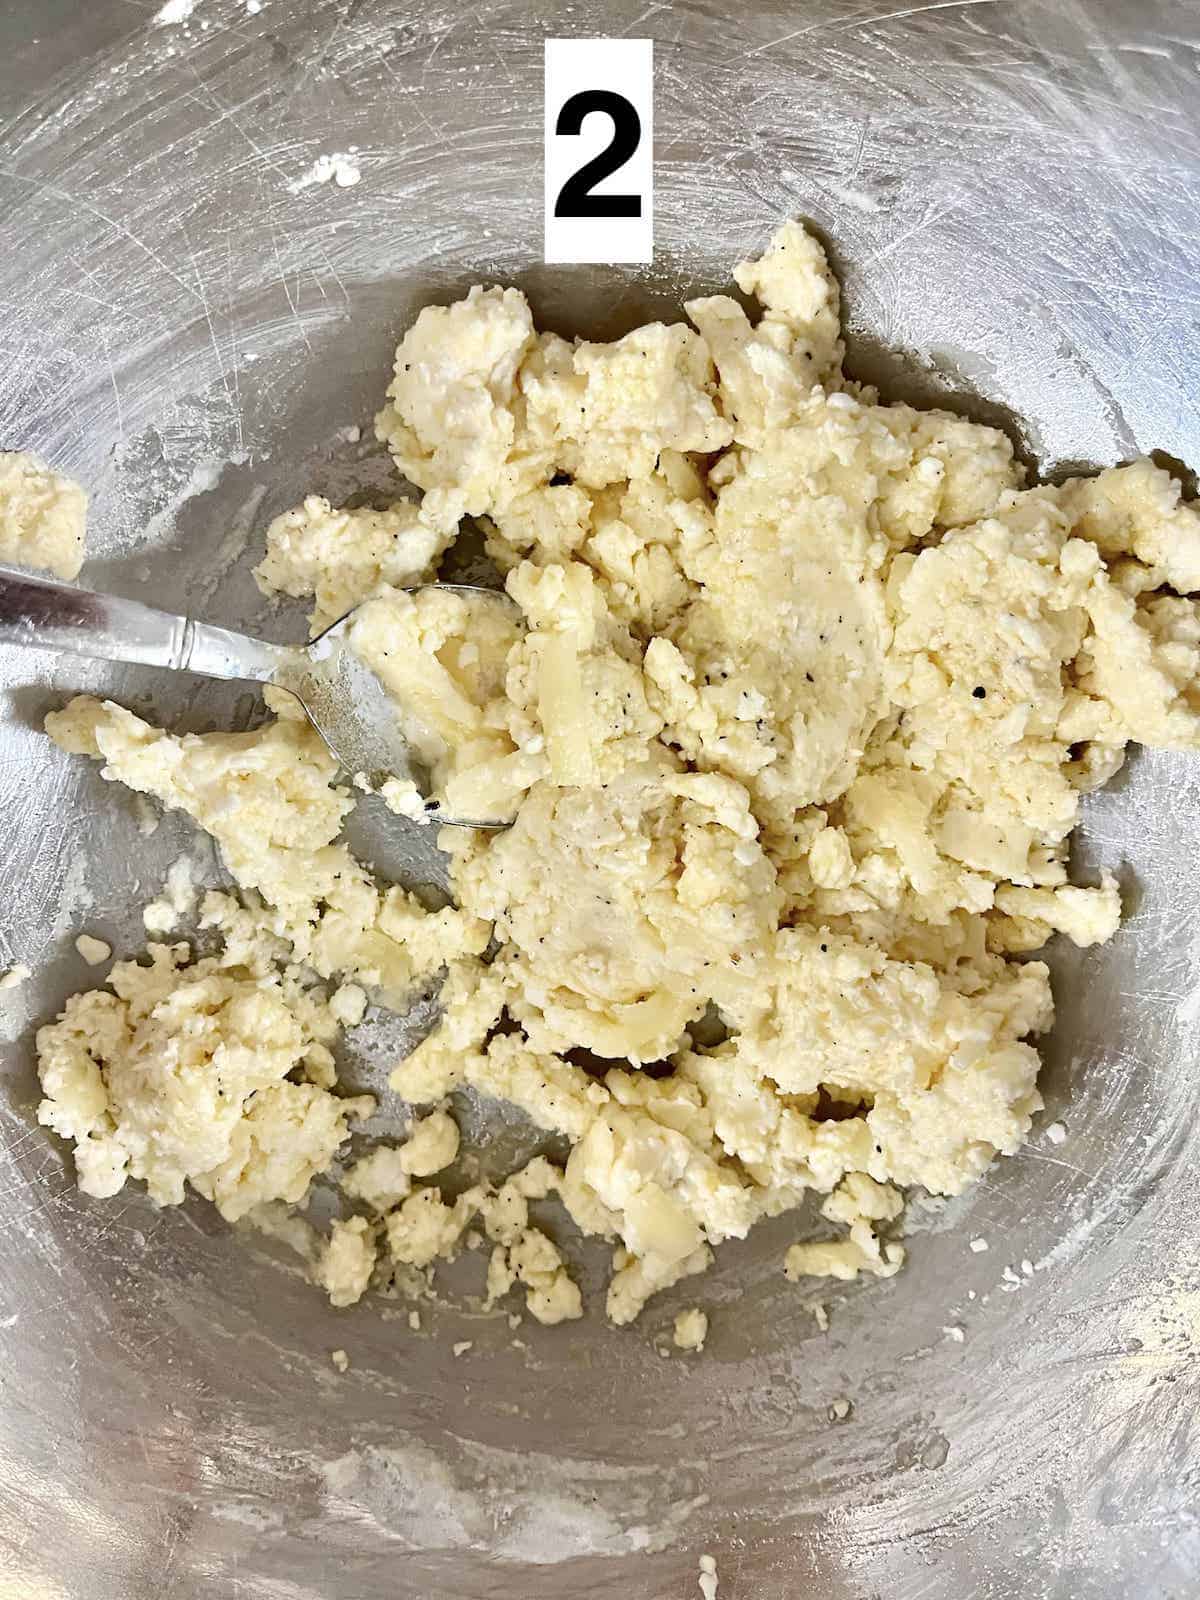
2a. Mix the dry ingredients and the cheese in a large mixing bowl.
2b. Add the melted butter and milk into the flour mixture, mix, then add the beaten egg and mix again till no lumps remain.
Note: we add the wet ingredients in 2 batches to avoid the heat from the butter cooking the egg. The dough will feel too dry at first but have fake and keep mixing. If there is still flour that can't be mixed into the dough, then add a it of milk, ½ Tablespoon at a time.
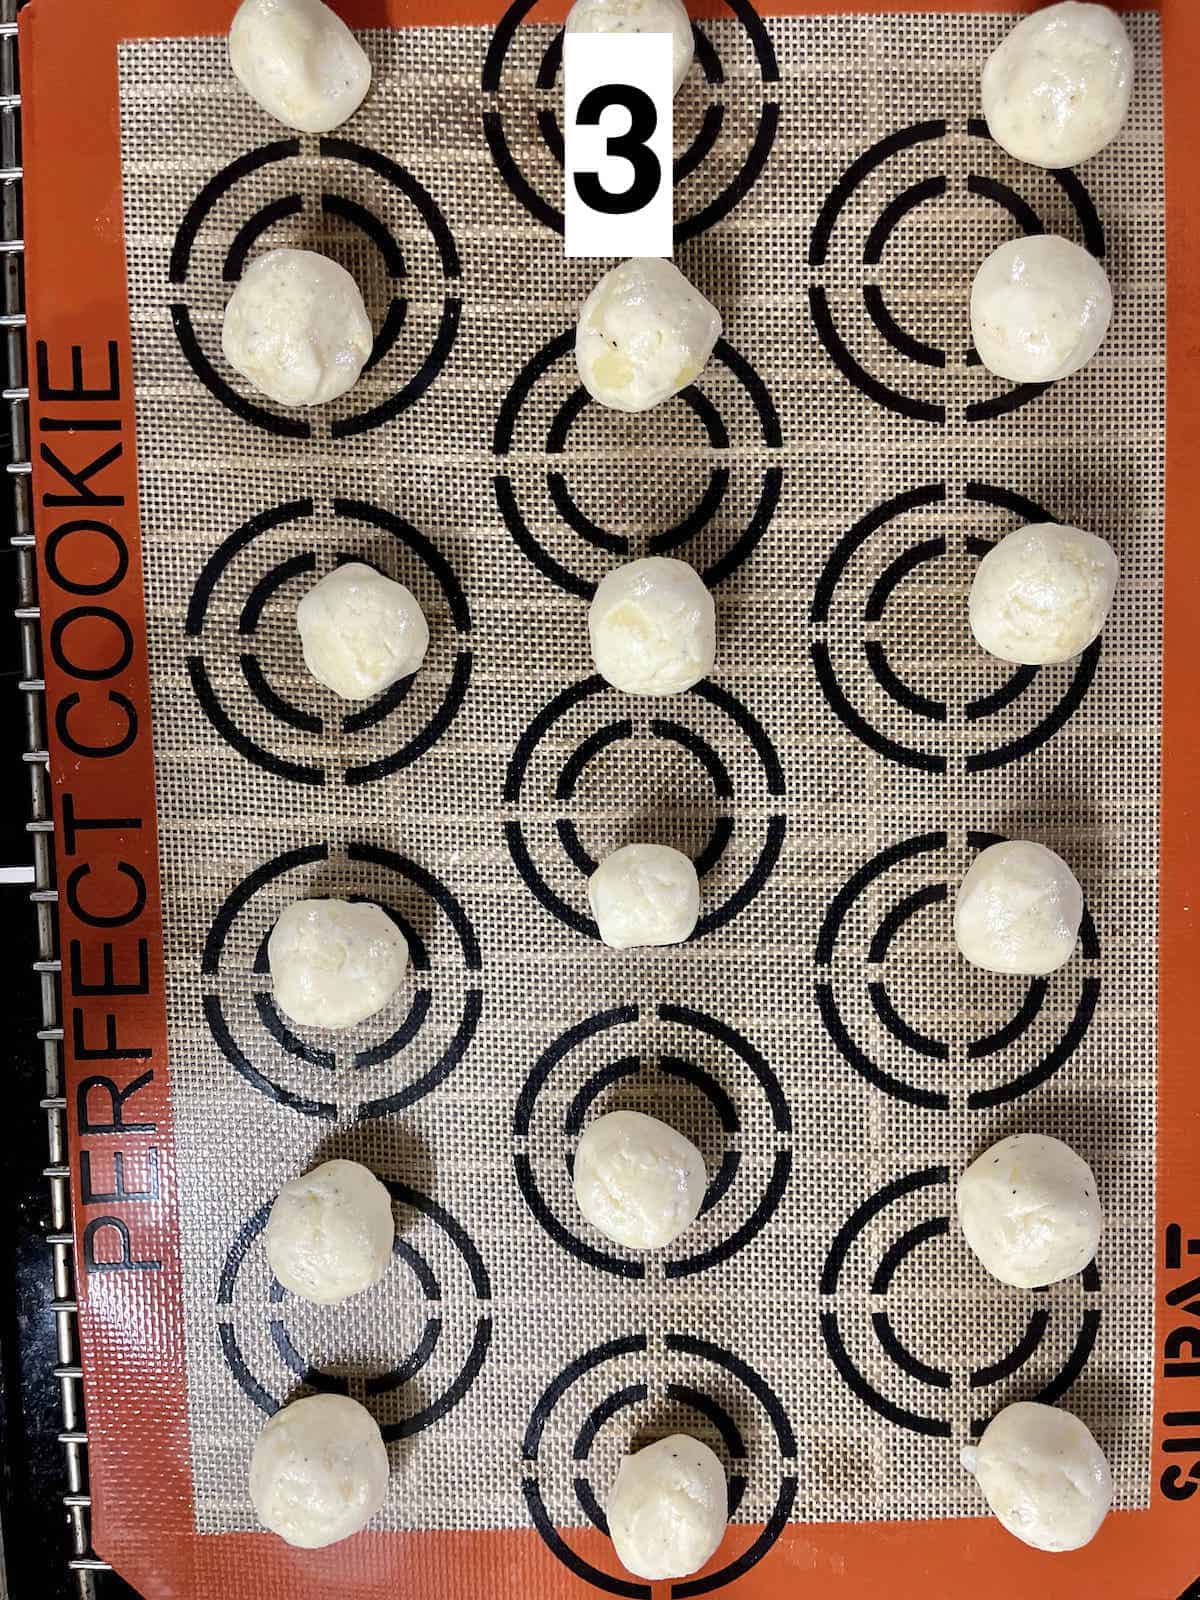
3a. Line the baking tray with parchment paper then divide the dough into 20 balls of dough and place onto the paper.
3b. Roll between your palms till smooth and round then place on the baking sheet with ½-1 inch between them.
Note: for more evenly-sized round balls, you may use a small cookie scoop but you will get a different size/ number of cheese balls.(The baking time changes with the size of the mochi ball.)
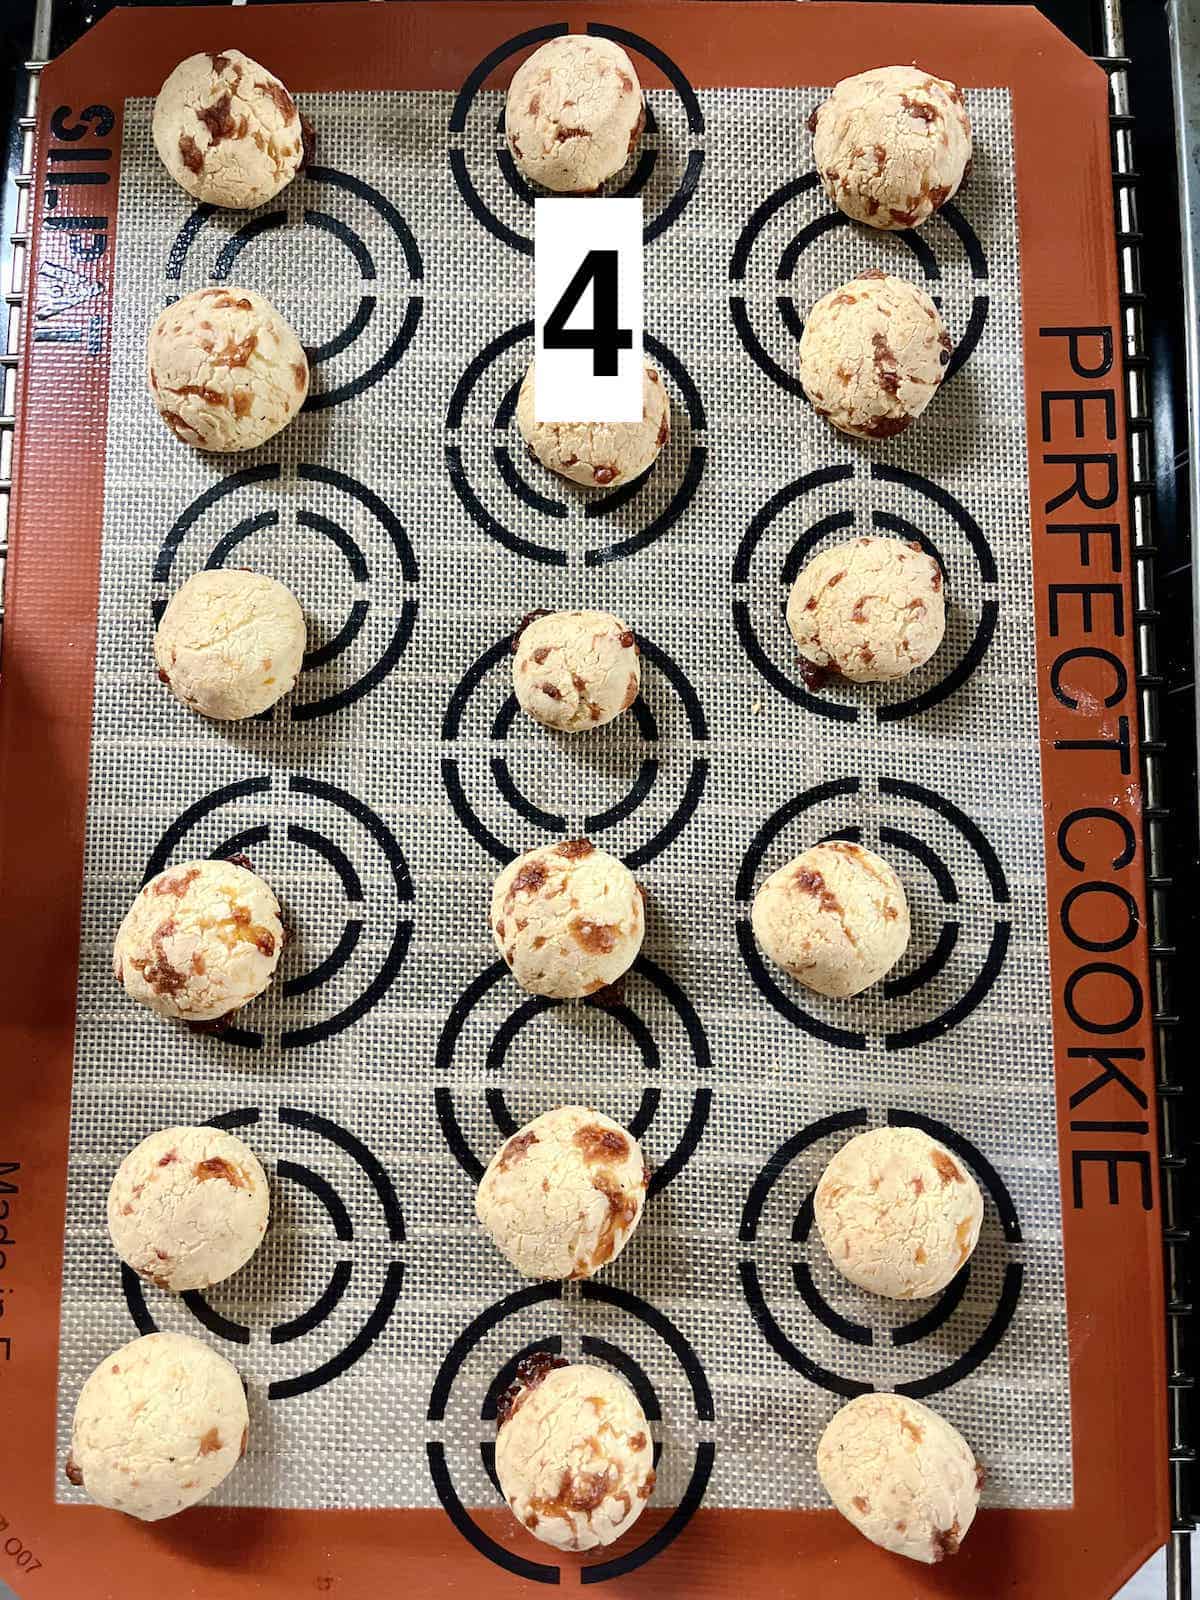
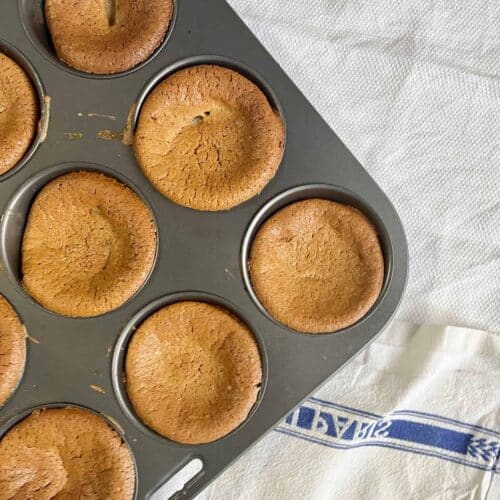
Oven Baked
Bake for 20-25 minutes till nice and golden. If you overbake, the crust will become thicker and harder.
Air Fried
They air fry faster at 350F/177C, taking about 4-5 minutes but you will need to do more than 1 batch as the air fryer basket is smaller.
Allow to cool on a wire rack before storing in an airtight container.
🥡 How to Store
Honestly, any type of mochi bread is best eaten hot out of the oven. Once it's cooled down, it becomes heavy and stodgy and doesn't taste that good!
If you make extra, you can store in an air-tight container but PLEASE reheat before serving!
Reheating
You can do this in a microwave, oven or toaster oven.
In an oven or toaster oven, cover the cheese bread in aluminum foil, mist the oven with a spray of water then bake at 350F/ 177C/ 157C fan for 3-5 minutes (depending on the size of the bread.)
For the microwave, heat the covered bread (use a damp kitchen towel or kitchen paper) for slightly under 1 minute.
👩🏻🍳 Expert Tips
Tip #1: Don't make each cheese ball too big. I find that ½ inch or even ¼ inch works best as this gives you a better crispy outside: soft interior ratio.
🥗 Other Mochiko Flour Recipes
Enjoyed this easy savory Mochi Bread Recipe? Please leave a 5-star 🌟🌟🌟🌟🌟rating in the recipe card below! If you REALLY liked this Asian Pao De Queijo, please consider supporting it by buying me a bottle of soy sauce! 🙂 (No obligation though!) Thank you and have a great day!
Cheese Mochi Bread
Equipment
- 1 Baking tray and Silpat/ parchment paper If baking in oven
- Aluminium Foil If making in air fryer
Ingredients
Wet ingredients
- 1 egg Choose a large one and beat it well
- ⅙ Cup salted butter (37.5g/ 1.3 oz) melted. If using unsalted butter, please add ½ teaspoon salt.
- 4 Tablespoons whole milk (60g/ 2.1 oz) Don't use low-fat milk.
Dry ingredients
- 1 Cup Glutinous Rice Flour (125g/ 4.4 oz) You can also use sweet rice flour or mochiko flour but NOT regular rice flour.
- ½ teaspoon baking powder
- ½ Cup grated parmesan (45g/ 1.6 oz) I have also tested it with shredded mozzarella but the resulting bread bakes up more quickly and, if you leave it in for too long, the crust will be a bit thick.
- 10 turns ground black pepper optional.
Instructions
- Pre-heat the oven to 350F/ 177C/ 157C fan.If using an air fryer, pre-heat at 350F/ 177C.Melt the butter gently over a low fire in a small pan. Do not let it bubble and boil. Whilst it's melting, beat the egg well.Note: since it's a small amount, if you're worried about it coming to the boil when you have your eye off it, you can heat it with the milk
- Mix the dry ingredients and the cheese in a large mixing bowl.
- Add the melted butter and milk into the dry ingredients, mix, then add the beaten egg and mix again till no lumps remain.Note: we add the wet ingredients in 2 batches to avoid the heat from the butter cooking the egg.
- Line the baking tray with parchment paper then divide the dough into 20 balls of dough and place onto the paper.
- Roll between your palms till smooth and round then place on the baking sheet with ½-1 inch between them.Note: for more evenly-sized snacks, you may use a small cookie scoop but you will get a different size/ number of cheese balls.(The baking time changes with the size of the mochi ball.)
- Oven BakedBake for 20-25 minutes till nice and golden. If you overtake, the crust will become thicker and harder.
- Air FriedThey air fry faster at 350F/177C, taking about 4-5 minutes but you will need to do more than 1 batch as the air fryer basket is smaller.
Notes
Note: the nutritional information is an estimate automatically calculated using the WPRM recipe maker and I am not responsible for its veracity.
Nutrition
If this Glutinous Rice Flour recipe was helpful, maybe you'd like to sign up for my newsletter in which I send you more Asian recipes?

Ari says
There are actually delicious! Reminds me pão de queijo but with rice flour. Really good for snacking, my mom likes these as well.
Zen says
Thank you Ari! Your words made my day 🙂 I've actually been testing these a few more times to further improve the flavor, and was getting a bit discouraged, so really good to hear you like them as is 🙂
T says
Such a fun recipe! Def making this for parties in future
Zen says
Yay! This is 1 of my friends' fave things to eat (that I make) and I hope your friends will like it too!
Juz Me says
Just tried baking this for the first time. It’s a really easy recipe to follow. Followed the recipe exactly and relatively satisfied with the outcome for a first try. Question: how to prevent the surface from “cracking”?
Zen says
Hiya, Glad you enjoyed the mochi ball recipe! To prevent the surface from cracking, you can either lower the temperature slightly (and bake longer) or spray a bit of water mist in the oven. Hope this helps!
Heather says
So good and easy! I have celiac so gluten free baking is necessary, but I am not a fan of xantham gum. Everyone loves these! I live in Korea and appreciate your recipes to create some of the foods I’ve eaten across Asia
Zen says
Hi Heather, thanks so much for taking the time to let me know you enjoyed the recipe, it's what keeps us recipe bloggers going when the blogging gets tough! 🙂 Sorry to hear you have celiac- my cousin has it too and it can get challenging with Asian food- I'll be sharing more Glutinous Rice Flour Recipes very soon! 🙂
Nora Mah says
😍Love the recipe. Turned out great! I used grated Grana Padano cheese 🧀 and some garlic 🧄 granules in the dough. I doubled the recipe and half of the balls I rolled them in black sesame seeds before I baked them. Also, sprayed them with a little avocado oil. Will definitely make them again! Shared them with some friends who also loved cheesy mochi balls too 😋
😃Thanks for the great recipe!
PS I just noticed that you have a button on the website for doubling and tripling the recipe. I use a scale for measure things and I see that the imperial measurements are fine with the amounts but the metric gram weights have not be adjusted for the 2x & 3x 😬 in recipe.
Zen says
Hi Nora, thanks for stopping by! SO glad you liked the recipe! 🙂 (I have a cheese mochi waffle recipe here too! :P) Thanks for letting em know about the issue with the metric measurements doubling! It's part of this automatic plug-in I use so I will need to get the developer to look at it!!! Have a great weekend!