If you love your Starbucks drinks, but want to save money by making them at home, this step-by-step guide on how to froth milk without frother is for you! I show you several different ways, including ones that do not require any fancy equipment, so you can decide on the easiest way for your budget. Comes with free copycat Starbucks recipes too!
Jump to:
Why Froth Milk
Frothing milk is an important part of making homemade latte, hot chocolate, cappuccino, frappuccino or any other coffee drink that requires foam really.
Whether you're making a regular or oat milk latte, it can't be called a latte without that signature foamy top! (For the pros and cons for the various types of milk when making lattes, click here.)
This involves heating the milk while simultaneously introducing air to create a light, airy foam.
1. The light foam changes the texture and flavor of the milk, improving the overall appearance and taste of the drink.
2. Did you know that when milk is heated and frothed, it becomes sweeter and creamier? Try it! The creamier texture better complements the rich and bold flavor of, for example, espresso drinks.
3. The foam also helps to insulate the drink, helping it stay warm for longer when it's cold out.
How to Froth
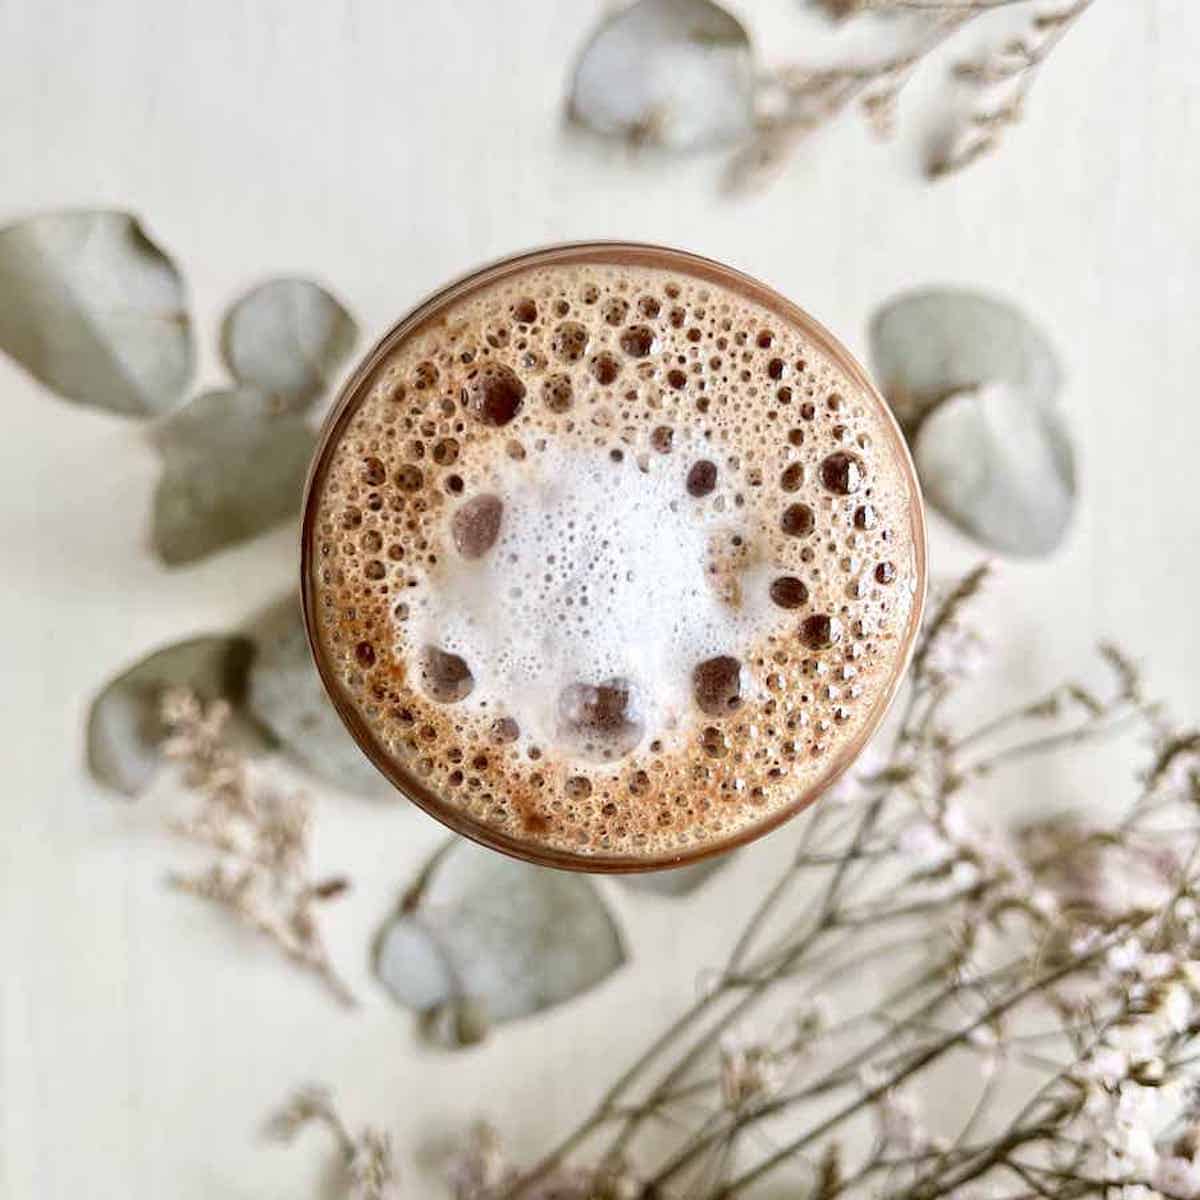
The process of frothing milk involves using a steam wand, frother or even hand whisk to heat and aerate the milk.
This creates a thick, velvety foam that can be used to create amazing latte art or to simply add a creamy texture to the drink.
The ideal amount of foam to add to a Nutella chocolate latte or cappuccino depends on your personal preference. Some people prefer a light layer of foam on the surface of the milk, while others like a thick, creamy foam. (Me!)
Different drinks also work better with different foam: a Pandan Latte for example would taste best with a different foam compared to a Hojicha Latte.
The amount of foam can be controlled by adjusting the steam wand or frother settings and/ or by using different types of milk. (More on this below.)
Overall, frothing steam milk is an essential part of making a Vanilla Matcha Latte, espresso or other milk drinks. It adds texture, flavor, and visual appeal to the drink, making it more enjoyable to consume.
Whether you're a professional barista or a home coffee enthusiast, mastering the art of frothing milk is key to creating the perfect coffee drinks!
Different Methods
1 of the most popular methods for frothing milk is to use a milk frother. This is also 1 of the most expensive, unfortunately!
Luckily, there are several methods to froth milk for lattes without a frother.
Each method has its pros and cons, and the best way for you will depend on your personal preferences and budget.
French Press

If you don't have the budget for a milk frother, you can still froth milk the low-tech way, using a French press.
This method requires a bit more effort as you need to pump the press several times. However, it can produce a creamy foam that is almost as good as the froth produced by a milk frother. It's also much easier than the steam wand used by professional baristas which may require some practice to get correct.
- To use a French press to froth milk, slowly heat the milk on the stove in a small saucepan or in the microwave until it is warm but not boiling.
- Pour the warm milk into the French press and pump the plunger up and down vigorously.
- Repeat till the milk has become frothy.
Note: If you use the right milk, the foam can actually be denser than the foam produced by a milk frother, so it's perfect for latte art. (More on the best milk for frothing below.)
Whisk
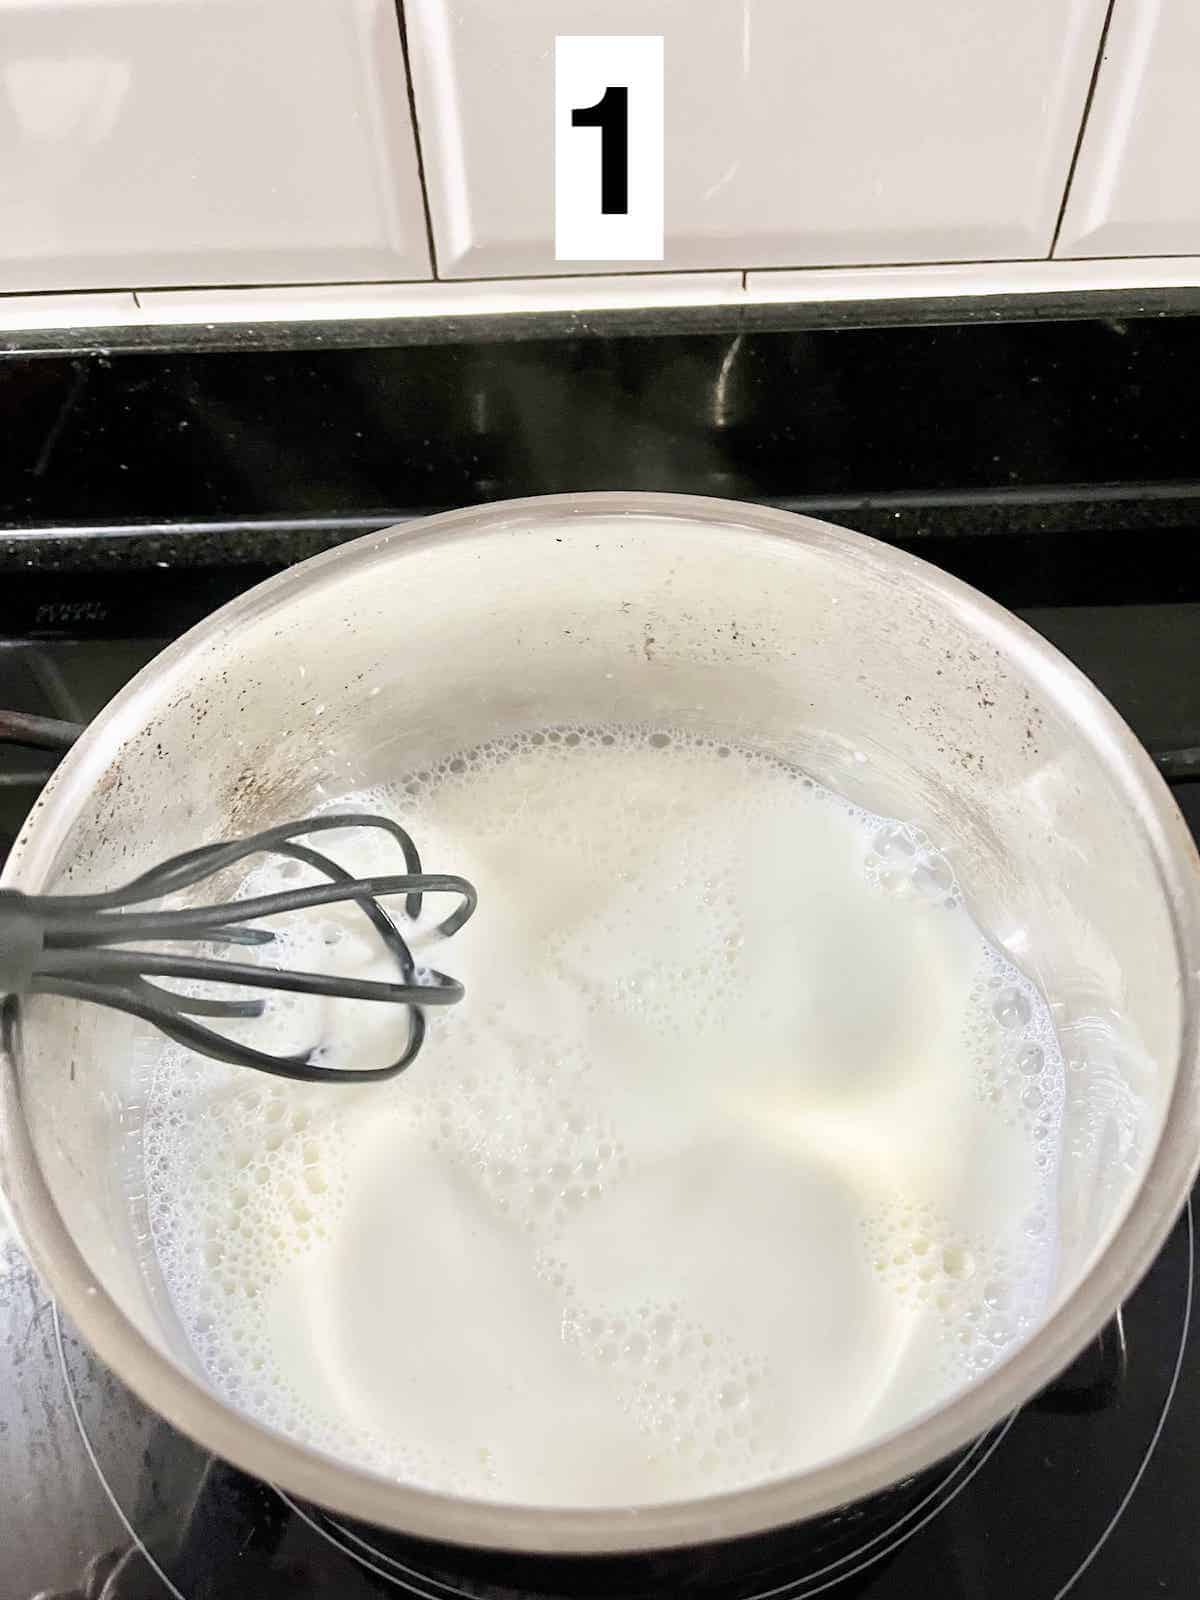
Another option is the old-fashioned way: simply heat your milk and when warm, whisk vigorously with your baking whisk. (Make sure it's heat-proof of course!)
I do this when I make hot matcha lattes actually.
Mason Jar
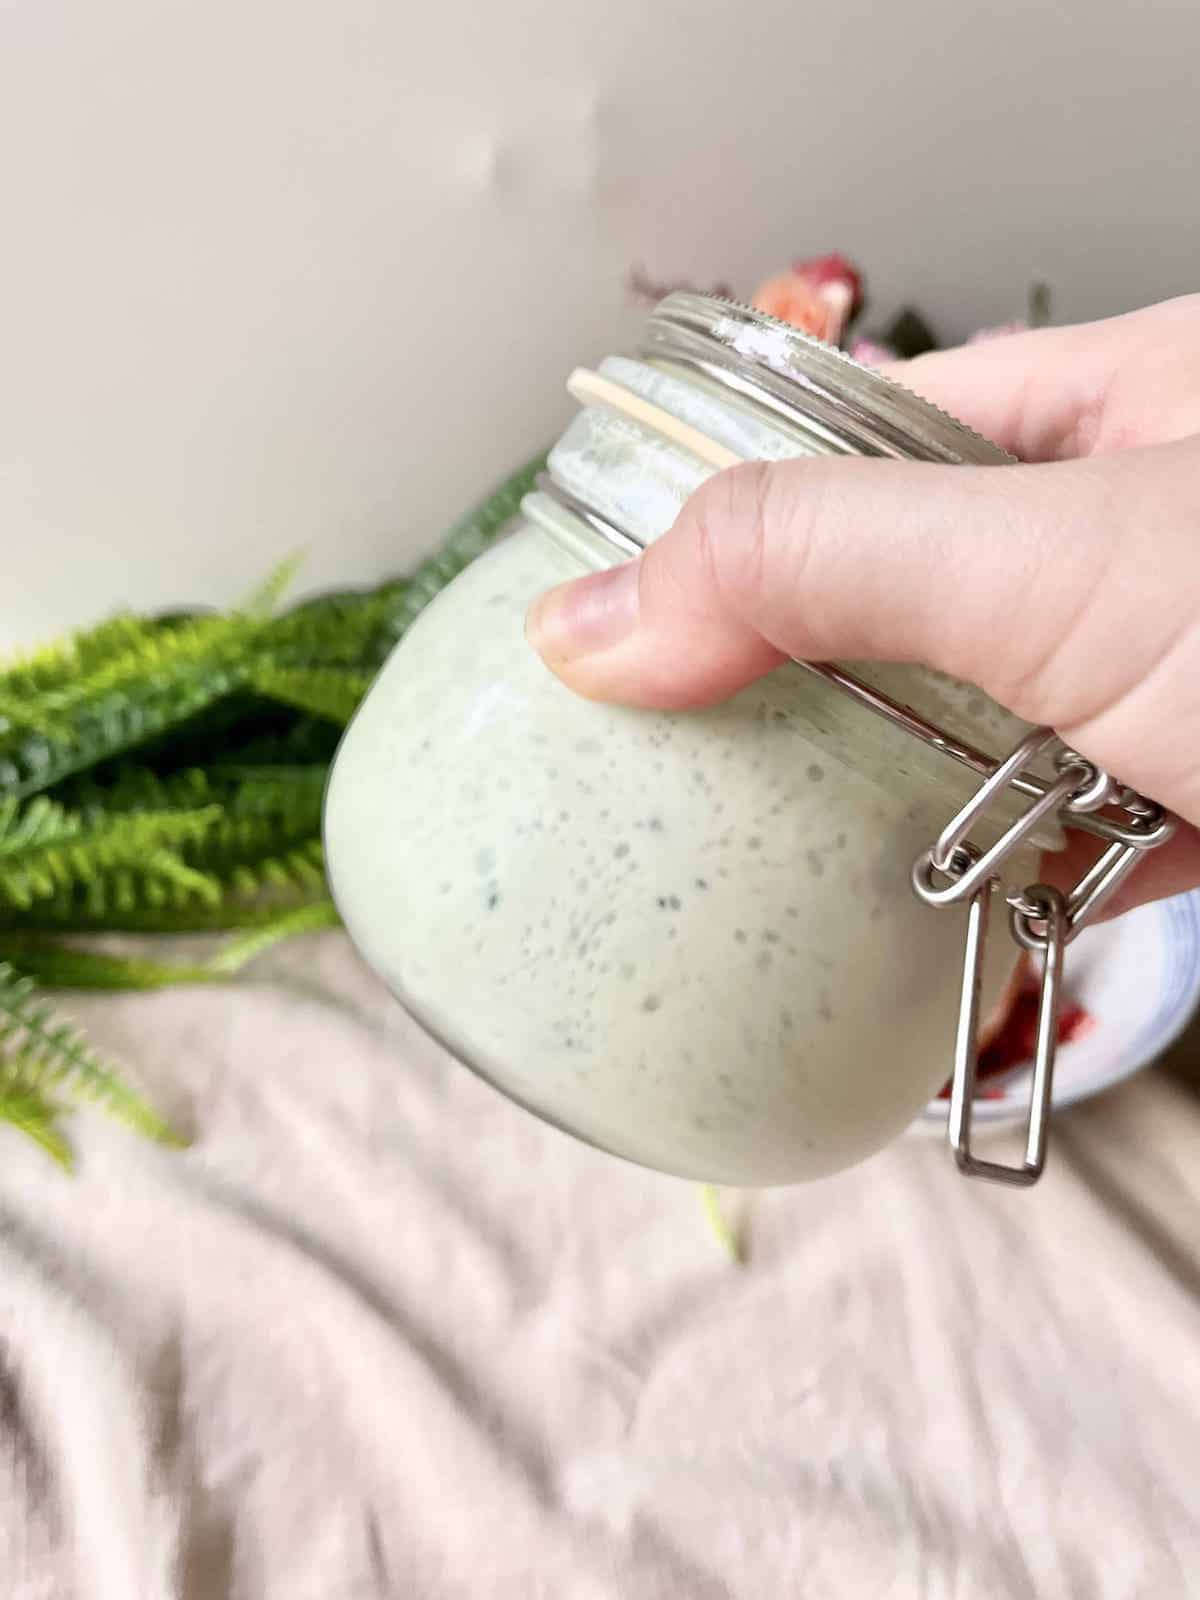
Finally, you can create frothy milk using a mason jar.
This is the easiest method, similar to using a French press or handwhisk, but requiring less equipment.
To use a mason jar to froth milk, heat the milk on the stove in a small pot or in the microwave until it is warm but not boiling.
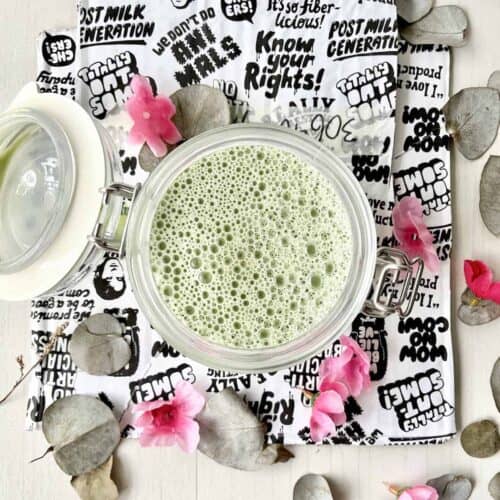
Pour the warm milk into a mason jar and seal the lid tightly. (It must be an airtight container or it will create a mess!)
Shake the jar vigorously until the milk becomes frothy and creamy. (The time taken will vary depending on how much foam you want and whether you're using regular or lactose-free milks.)
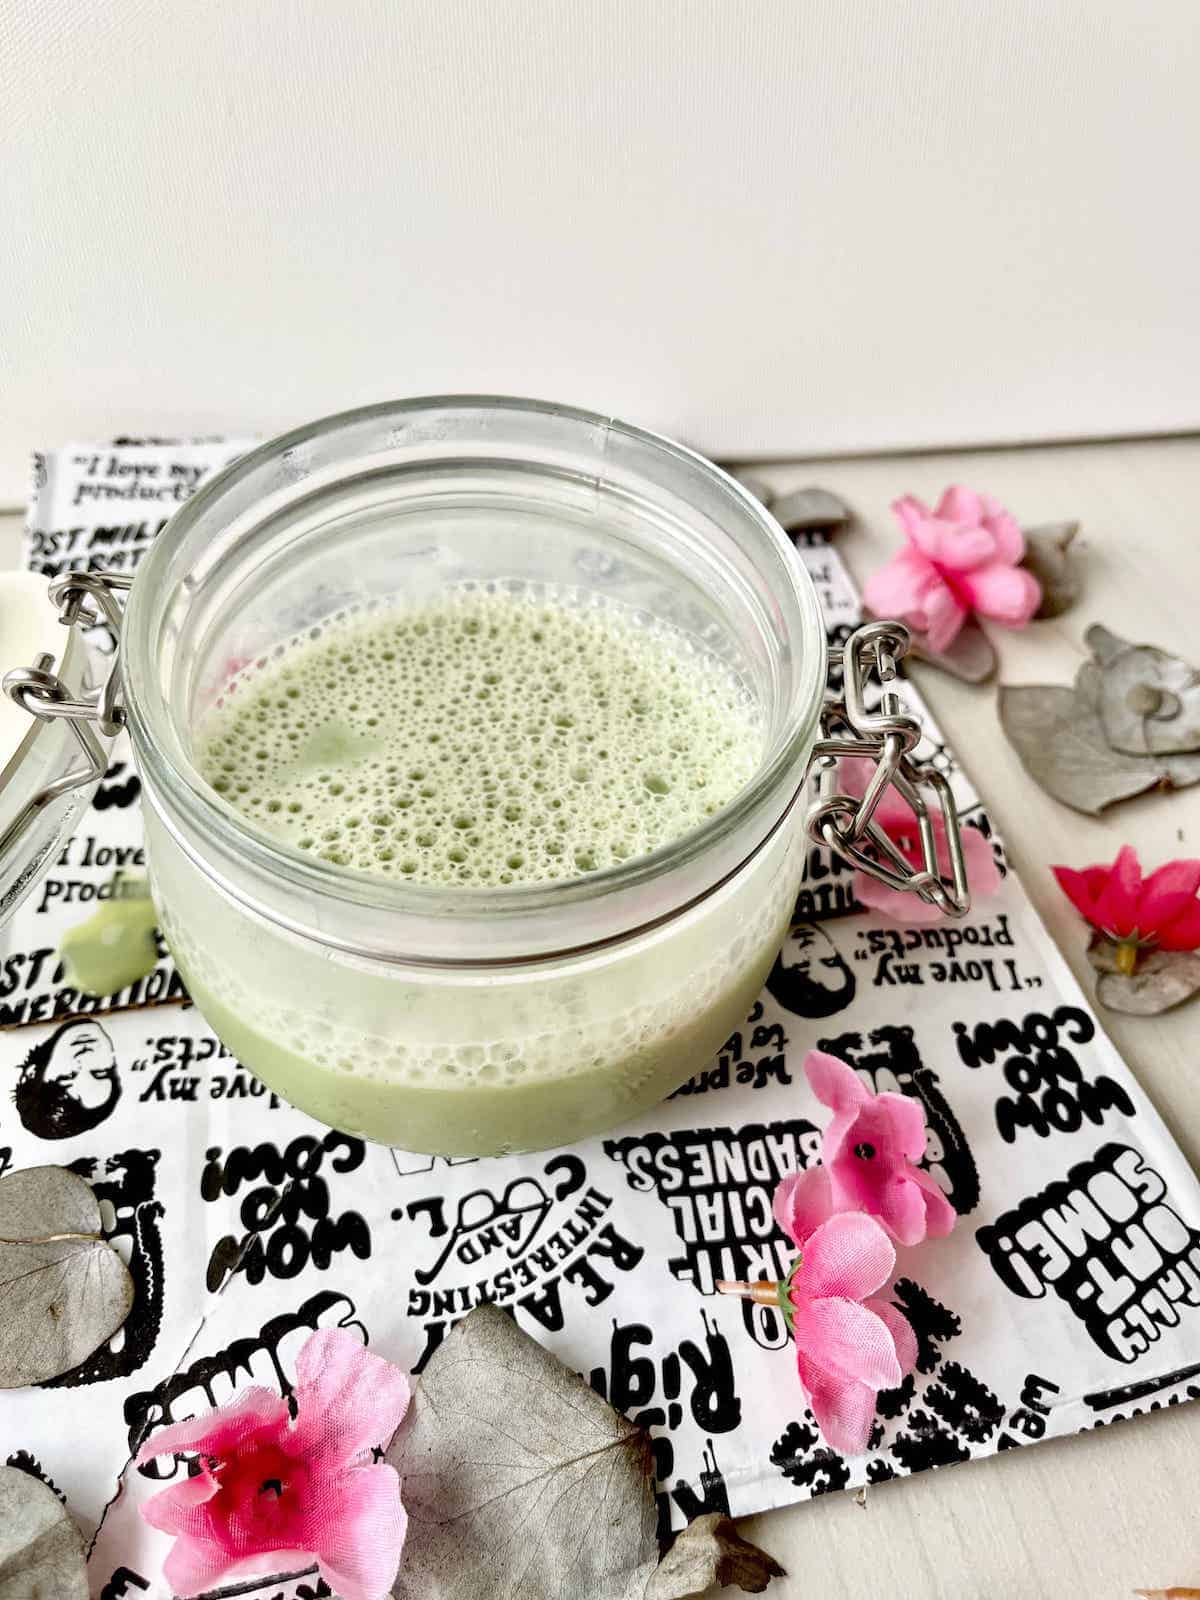
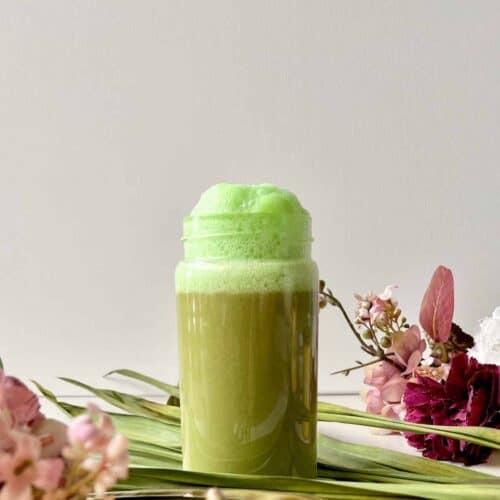
Note: this method works even if the milk has not been heated up, as shown above (but hot milk creates a more stable foam.) This is great for making iced or cold brew lattes!
Now that we've covered how to froth milk without a frother, I'll briefly go through the conventional ways (steam wands and milk frothers.)
Steam Wand
This comes with many espresso machines.
- Insert the tip of the steam wand into the milk. It will release steam and create a whirlpool effect that incorporates air into the milk.
Note: you know the milk is ready for a cappuccino when it's double the volume. For a latte- let's say a coffee chai latte drink- you'll need even more bubbles- the milk should expand to about 1.5 times the original volume.
Milk Frother
Milk frothers come in many shapes and sizes, from small handheld devices to the built-in frother in an espresso machine.
They work by heating and frothing the milk at the same time, creating a consistently creamy foam that is perfect for lattes and cappuccinos.
- To use a milk frother, simply pour the cold milk into the frother. Turn it on.
- There are 2 types of frothers. 1 will just froth the milk to produce a light, creamy foam.
- The 2nd type will also heat the milk, similar to a steam wand.
Note: Some of the more expensive milk frothers even have adjustable settings, allowing you to customize the temperature and texture of the milk foam.
An example is the Nespresso Aerocinno 4 even allows you to customise your frothed milk! It can create 4 different types: a hot dense foam, a hot but lighter foam, a cold foam, and no foam (In this case, it simply heats the drink.)
Handheld
Another option for frothing milk is to use a handheld milk frother.
These USB or battery-powered devices are inexpensive and easy to use, making them a popular choice for aspiring home baristas. However, it can't quite match the performance of an electric frother or latte machine. Moreover, though quick and easy, but can create a bit of a mess if you're not careful.
- To use a handheld milk frother, heat the milk gently on the stove or in the microwave until it is warm but not boiling.
- Then, place the frother into the milk and turn it on.
- Move the frother up and down until the milk becomes frothy and creamy.
No matter which method you choose, frothing milk for lattes is a fun and rewarding experience that can help you save a lot of money.
With a little practice, you'll be able to create creamy, velvety milk foam that is perfect for lattes, cappuccinos, and macchiatos whether you are using dairy milk or vegan milk.
Techniques
When it comes to frothing milk for lattes, there are several techniques to consider.
Now let's talk about some of the most important techniques for frothing milk!
Choosing the Right Milk
1 of the first things to consider when frothing milk is the type of milk to use.
Whole milk is the most commonly used milk for frothing, but other types of milk can also be used. (Starbucks uses 2%milk but 3% and above creates the best froth.) Cashew milk, macademia milk, oat milk, and soy milk are popular vegan alternatives to whole milk.
Personally I do not recommend using skim milk- it does create a frothy foam with larger bubbles (as compared to whole milk.) However, it just doesn't have the same creamy taste due to the lower fat content.
If you want to avoid whole milk, I suggest using a plant-based milk such as almond milk instead.
Each type of milk has its own unique taste and texture, so it's important to choose the right milk for your preferences or dietary requirements.
Getting the Right Temperature
Another important factor when frothing milk is the temperature of the milk.
The ideal temperature for frothing milk is between 150 and 155 degrees Fahrenheit (65.5-68.3C.) If the milk is too cold, it won't foam properly. If the heated milk is too hot, it can burn and develop an unpleasant, bitter taste.
Tip: Use a food thermometer to ensure that the milk is at the correct temperature. I confess to usually eyeballing it though! Once you've done it a few times, you kind of know how long it takes on your cooker.
Using the Right Amount of Milk
The amount of milk you use is also important when frothing milk.
Using too little milk can result in overly frothy milk, while using too much can result in flat milk or create a real mess. (For example, for some of the battery milk frothers, you can't fill the cup more than 40% of the way without having the milk go everywhere.)
Frothing milk for lattes without dirtying your kitchen requires a little bit of practice, but with the right technique and equipment, anyone can do it. By choosing the right milk and using the ideal temperature, the optimal amount of milk, and the correct technique, you can create delicious, perfect frothy milk for your Starbuck copycat lattes anytime at a fraction of the cost!
Here are some common mistakes to avoid, as well as troubleshooting tips.
Creating the Right Texture
To create the right texture, you need to first understand the foam bubbles.
Foam bubbles are created by incorporating air into the milk. The air makes the milk thicker and creamier.
To create a good, stable foam, heat the milk to the desired temperature using a food thermometer. For a latte, the ideal temperature is between 140°F and 160°F and the foam should be smooth, almost velvety, without any large bubbles.
Once the milk is heated, pour it into a tall, heat-proof container and use a spoon to remove any large bubbles.
Next, use a frother to incorporate air into the milk.
Hold the container at an angle and move the frother up and down until foam bubbles form.
Common Mistakes
- It's important to hold the container or frother at an angle. The tip of the wand should be near the side of the pitcher. You then move the frother up and down to incorporate air into the milk.
- Do not hold the frother too close to the surface or the milk may not froth properly.
Troubleshooting Tips
Tip #1: If the foam bubbles are too large or the milk is too thin, try a different type of milk or adjust the position of the frother.
Tip #2: If the foam bubbles are too small, try using a different frother or adjusting the temperature of the milk.
Latte Recipes
- Vanilla Matcha Latte (Starbucks Copycat)
- Cold Brew Latte (3-ingredients)
- Starbucks Hot Matcha Green Tea Latte
- Chocolate Chai Latte
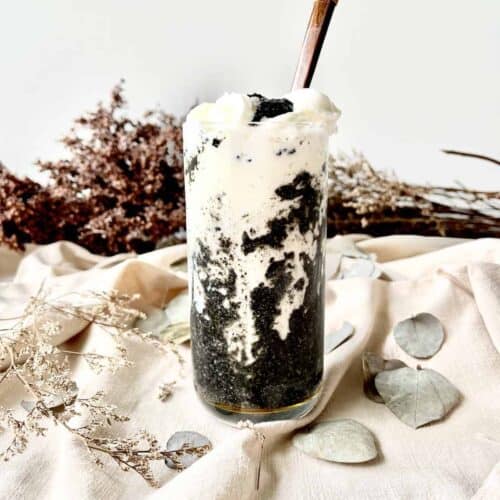
- Black Sesame Latte
- Oat Milk Matcha Latte (5-ways)
- Hojicha Latte (Starbucks)
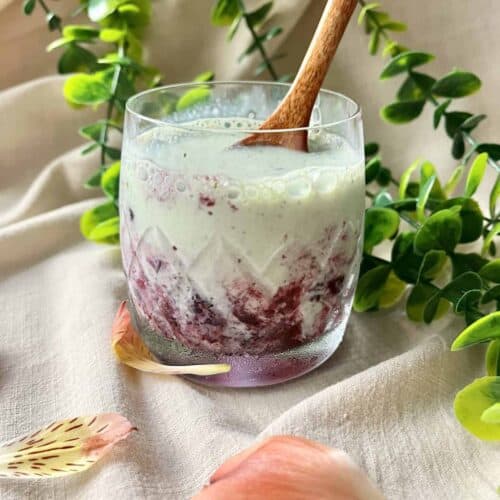
- Blueberry Matcha Latte (Dunkin Inspired)
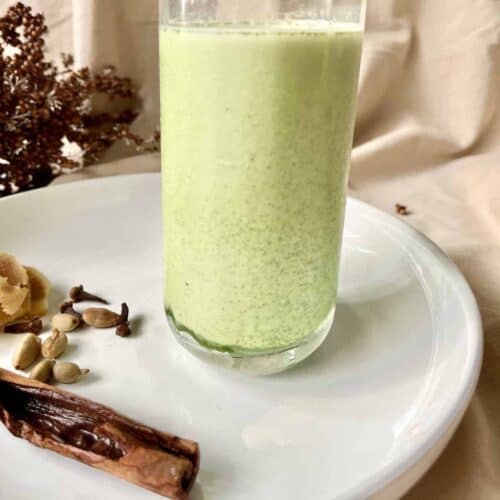
- Starbucks Matcha Chai Latte
- 39 of the Best Latte Flavors
- Pandan Latte
- Easy Nutella Coffee Latte (3-ingredients)
FAQs
It'll depend on the equipment/ method you use but basically the milk should have expanded by about 20-35%. It should look like ice cream that has melted. (Usually 3-5 seconds is enough.) Remember that the milk must be kept within 140-150F (60-65.5C) or it becomes too firm for latte art.
Now that you know how to create a good foam, nothing is stopping you from recreating all your favorite coffee shop drinks!






Comments
No Comments