
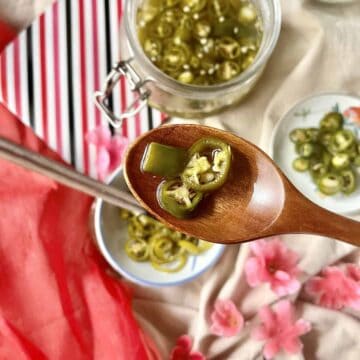
If you like your relish sweet and sour and a bit spicy, you'll love these Asian quick pickled peppers. These homemade Green Pickled Chili are so easy to make, you'll love them!
Jump to:
What are Green Pickled Chilies?
Green pickled chilies are a beloved Cantonese ingredient. Like quick pickled cucumbers, they add a tangy, spicy kick to any dish, and are usually served with Asian noodles such as wonton noodles, stir fried vermicelli and hor fun!
Not really. They're more sweet and tangy but you may get the occasional outlier chili which is pretty hot!
🥘 Ingredients
You'll need:
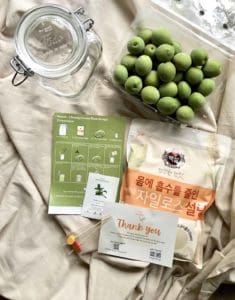
- green chilies: in Asia, we grow up pickling Spur chilli or Kashmiri chilli but you can also use Cayenne, Jalapeños or Serrano chilies. Green is traditional, but there's no reason you can't use red chilies too. However, I would stay away from bird's eye chili or chili padi as these small chiles are super spicy!
- white vinegar: rice vinegar is traditional but I've also made them with Apple Cider Vinegar (keep the quantity the same.) The flavor does change slightly as the chilies will taste a bit modern.
- salt and sugar: Don't vary the salt as we don't want it too salty but you have a lot of leeway with the sugar. People use anything from a few teaspoons to ⅔ the amount of vinegar! (I used less as I'm too old to be unhealthy!)
- hot water: this is for an optional step of soaking the chilies. You can skip this step if you boil the vinegar solution before pouring over the chilies. However, I usually do both (soaking and boiling) to help soften the green peppers.
The amount of vinegar is sufficient for this quantity of chilies only. Whilst you can use the same solution to quick-pickle Asian cucumbers, please don't add them to the same batch as the chilies (or increase the chilies) without increasing the amount of vinegar solution used.
📖 Variations & Substitutes
- Spiced: like homemade salted eggs, you can add anything from cinnamon stick, star anise, ginger and garlic to vary up your brine!
🔪 Step-by-Step Instructions
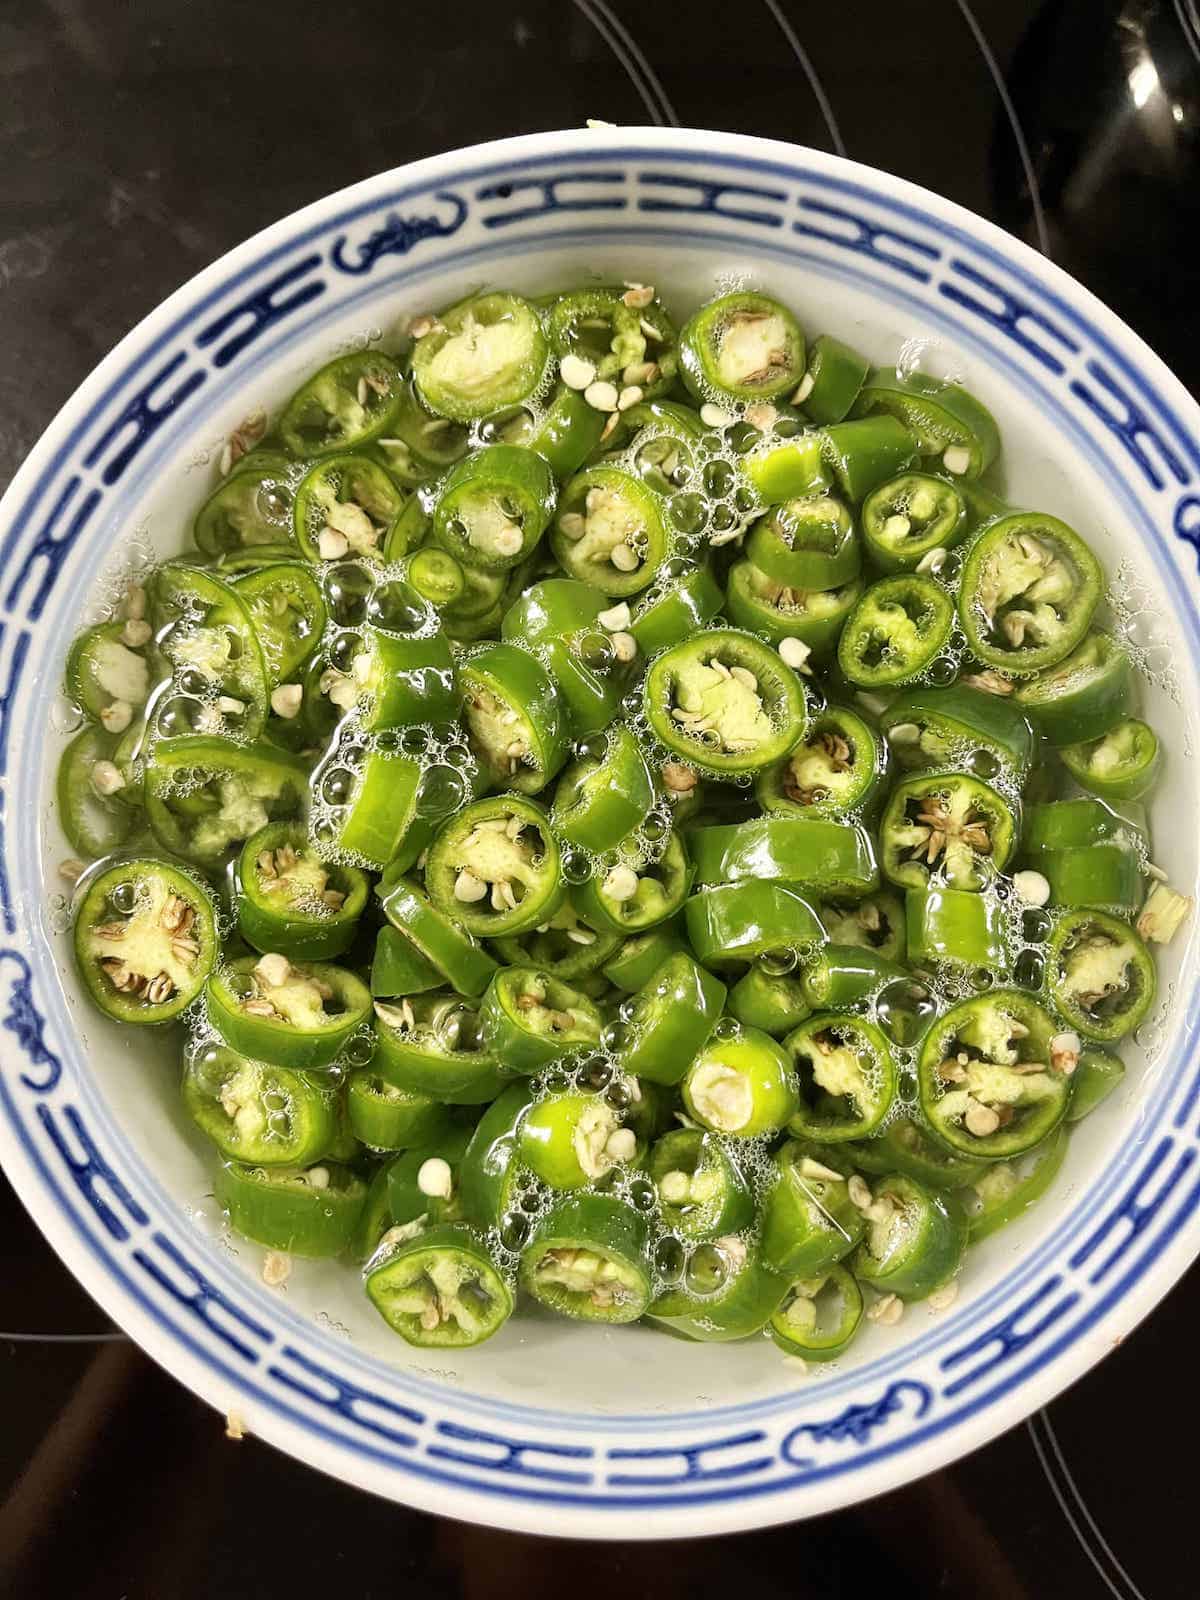
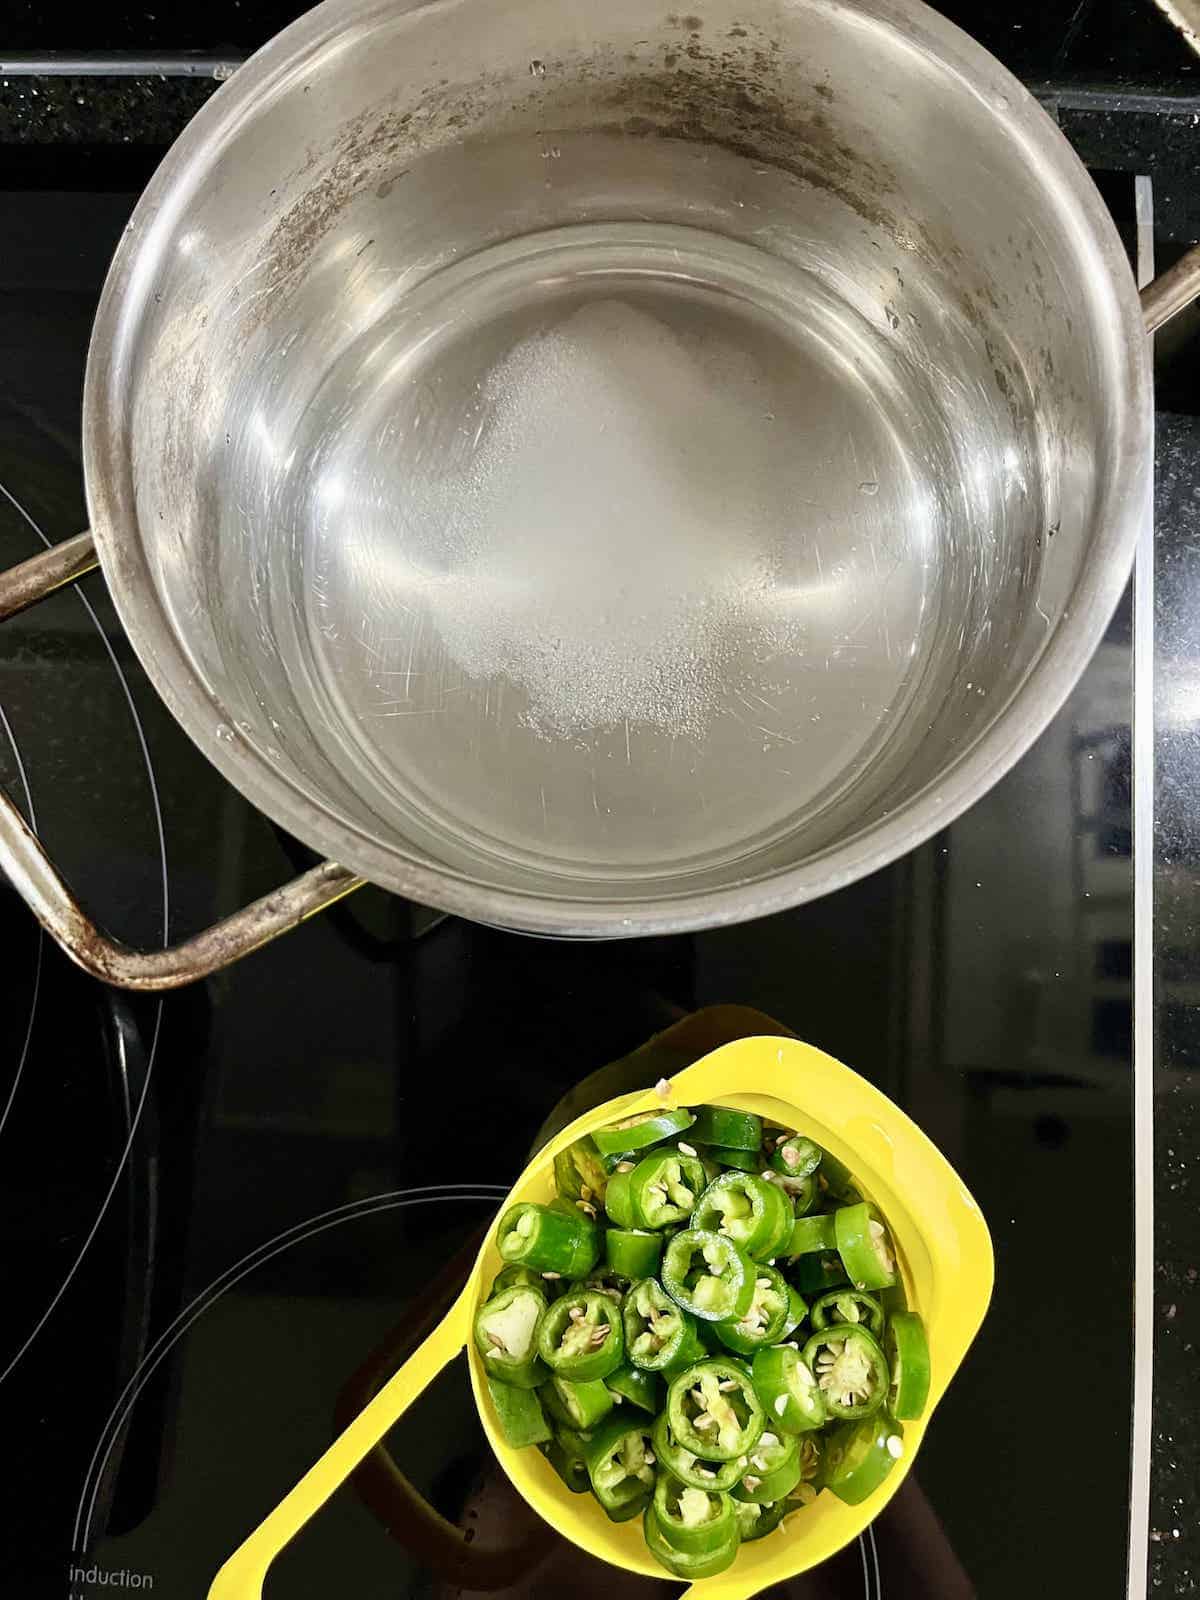
1a. Rinse, dry, remove the stems and slice the green chilies into approximately ⅓ inch rounds.
Note: I've tried slicing the chilies more thinly but, somehow, all the testers agreed that thicker slices taste better. So the thinner slices just ended up being more work for nothing!
1b. Option 1: soak the chilies in hot water for 10-30 seconds. You can skip this step if you are going to boil the brine later.
However, I recommend doing both to soften the chilies. If not the skin can be a bit tough!
2. Option 2: if you did the hot water soak, you can skip this but I recommend doing both.
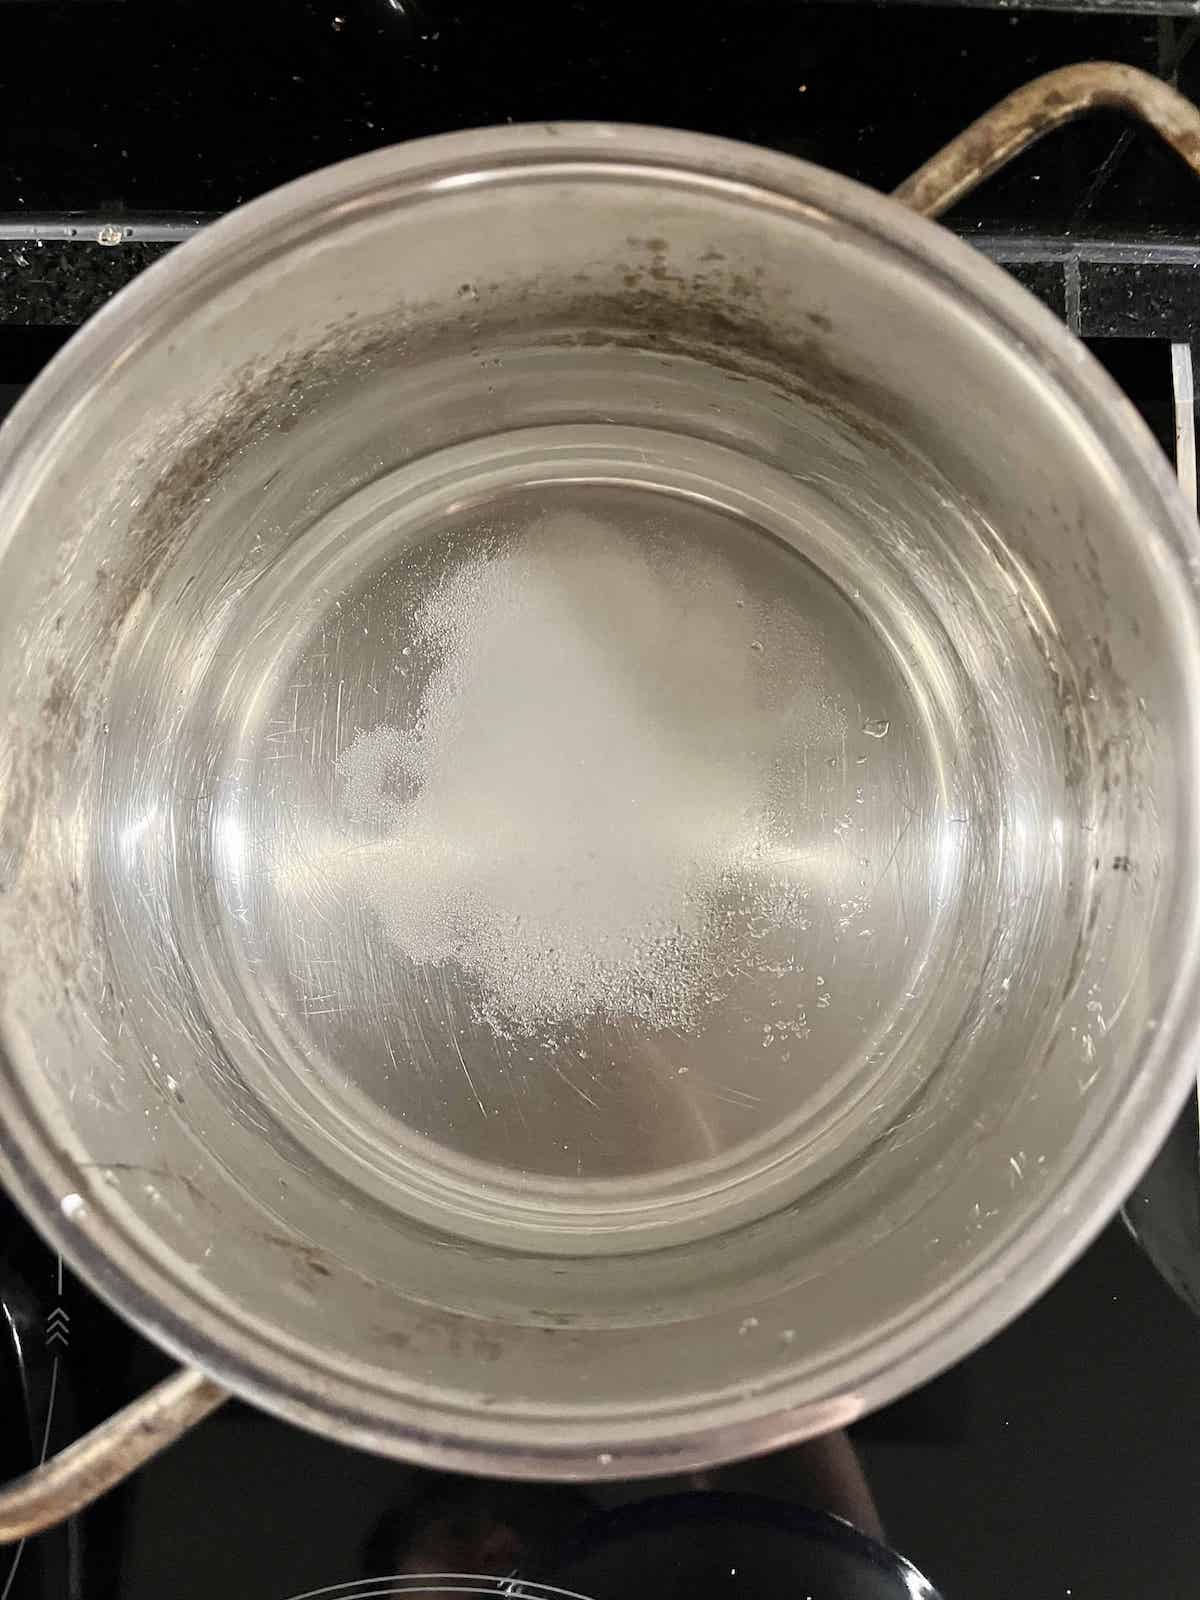
Bring the vinegar, salt and sugar (and other spices, if using) to a boil, stirring till all the sugar is dissolved.
Remove and allow to cool.
Note: if you're only doing 1 of the 2 optional steps, I recommend this over blanching as, if not, it can be difficult to ensure all the sugar is dissolved. (See below.)
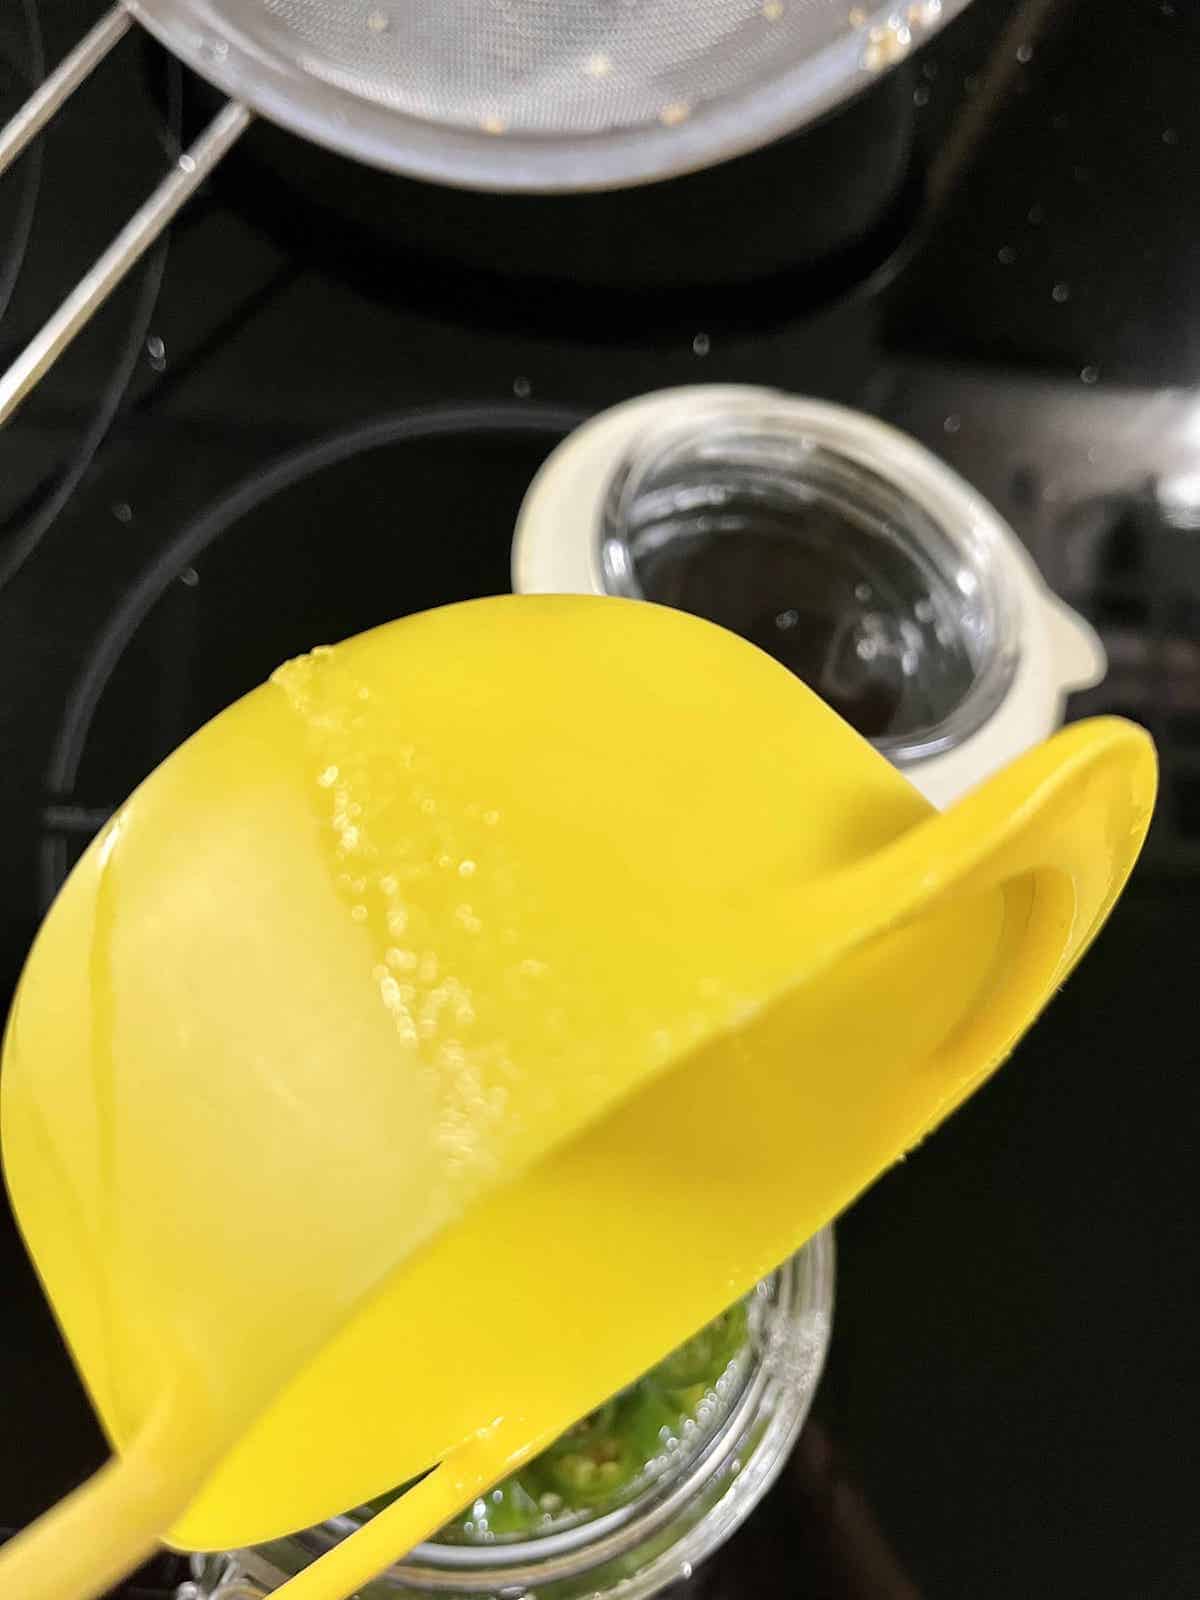

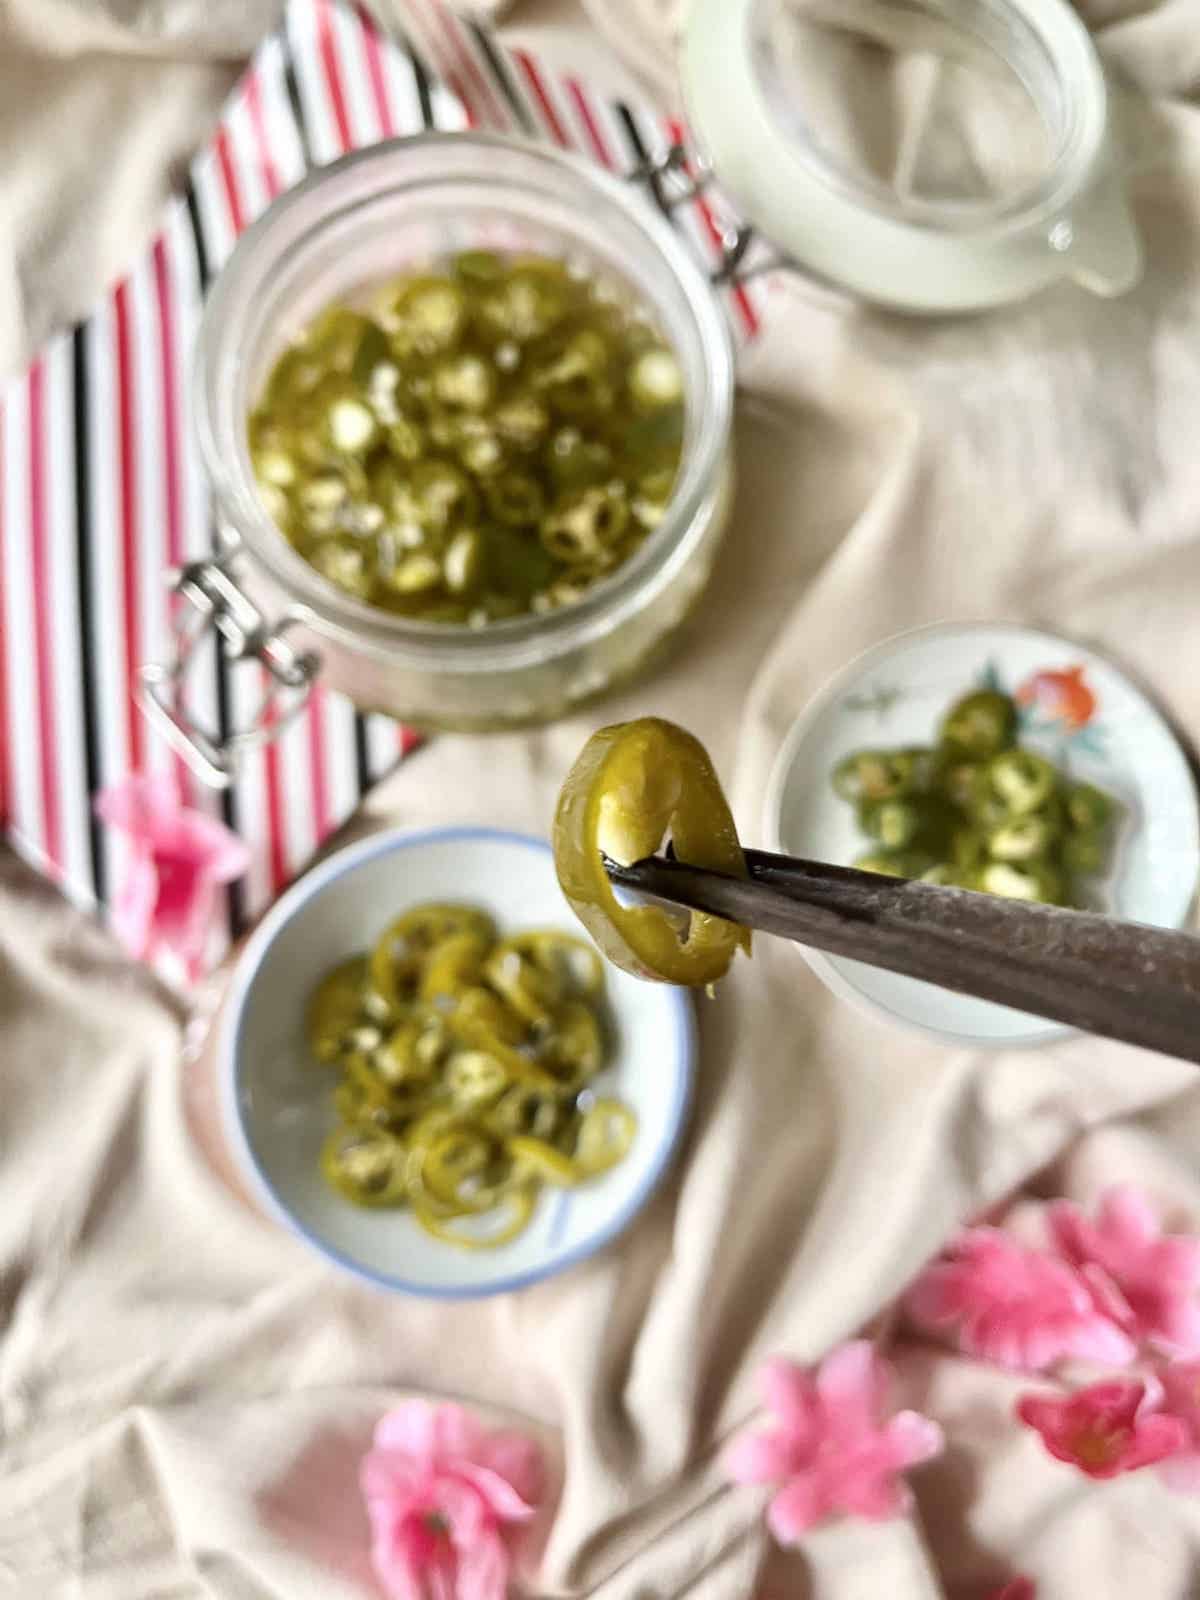
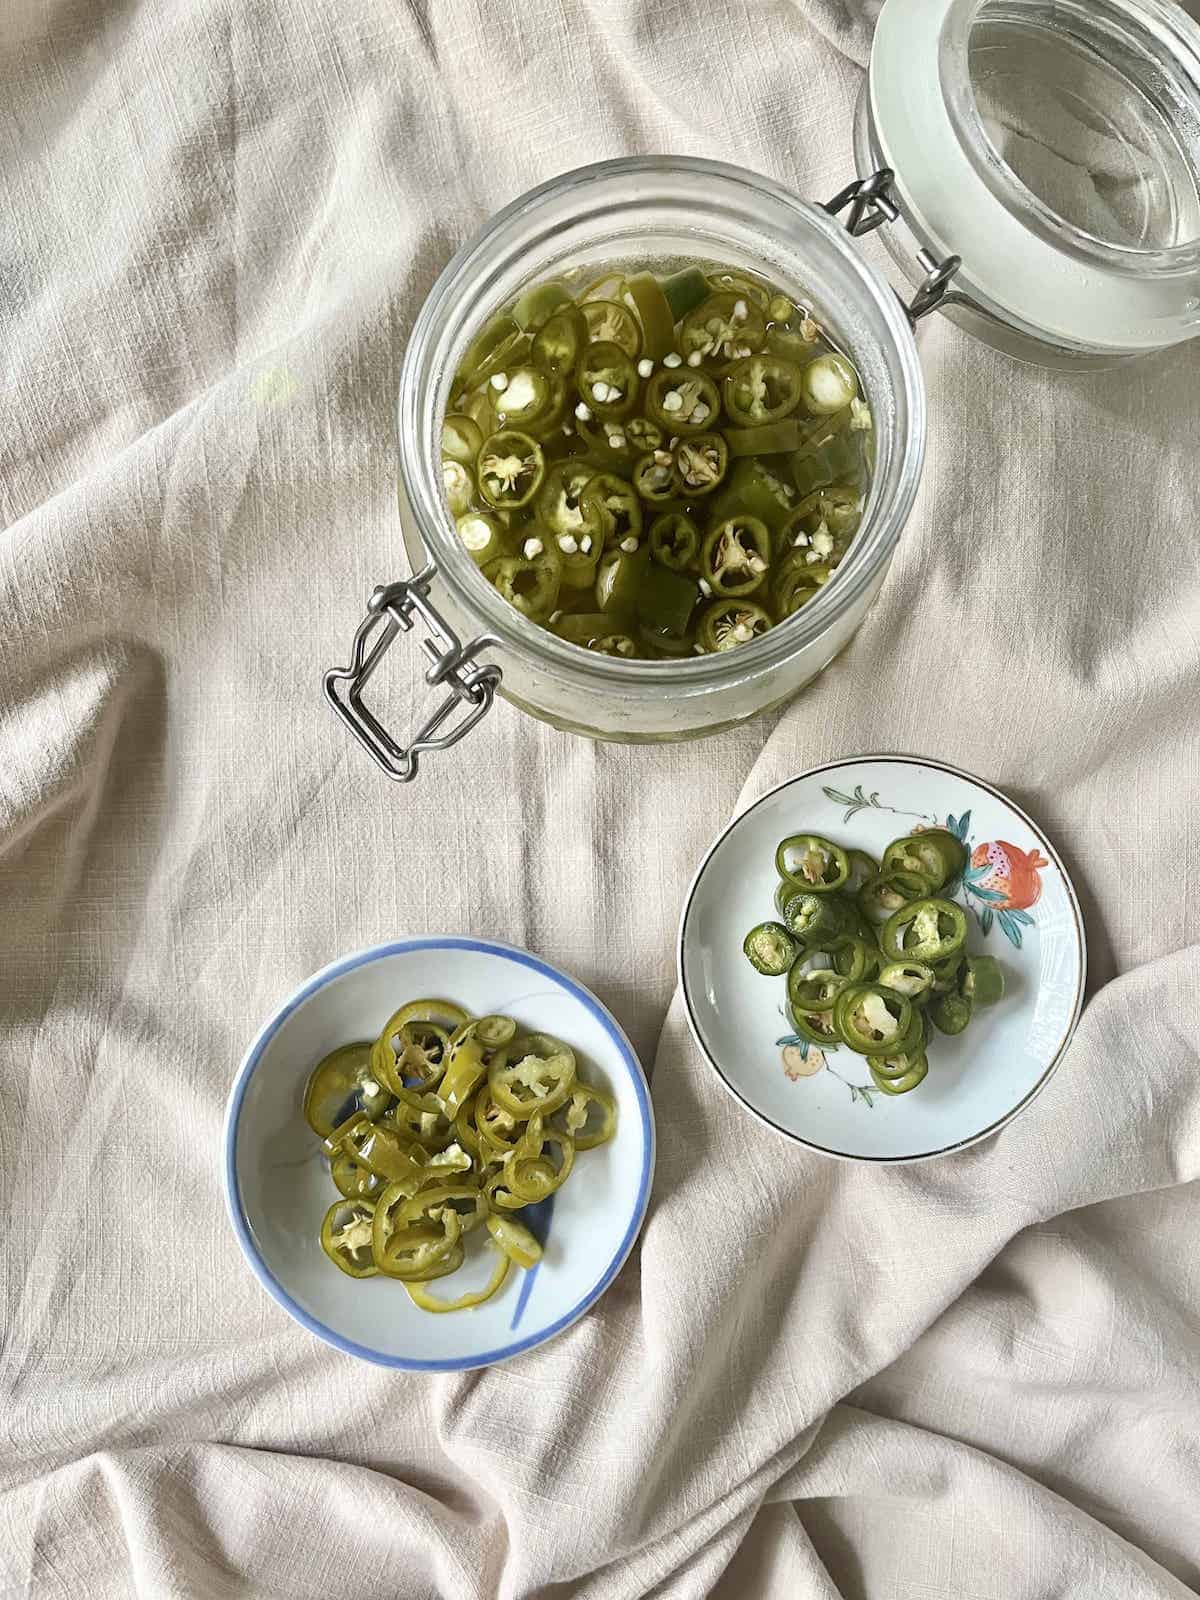
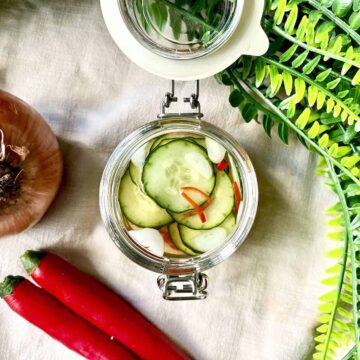
3a. Strain the chilies, using a slotted spoon or colander and place in a sterilised glass or ceramic jar. (Plastic is not recommended due to the acidity.)
3b. Pour the pickling solution mix over the chilies, ensuring all the chilies are submerged in the liquid.
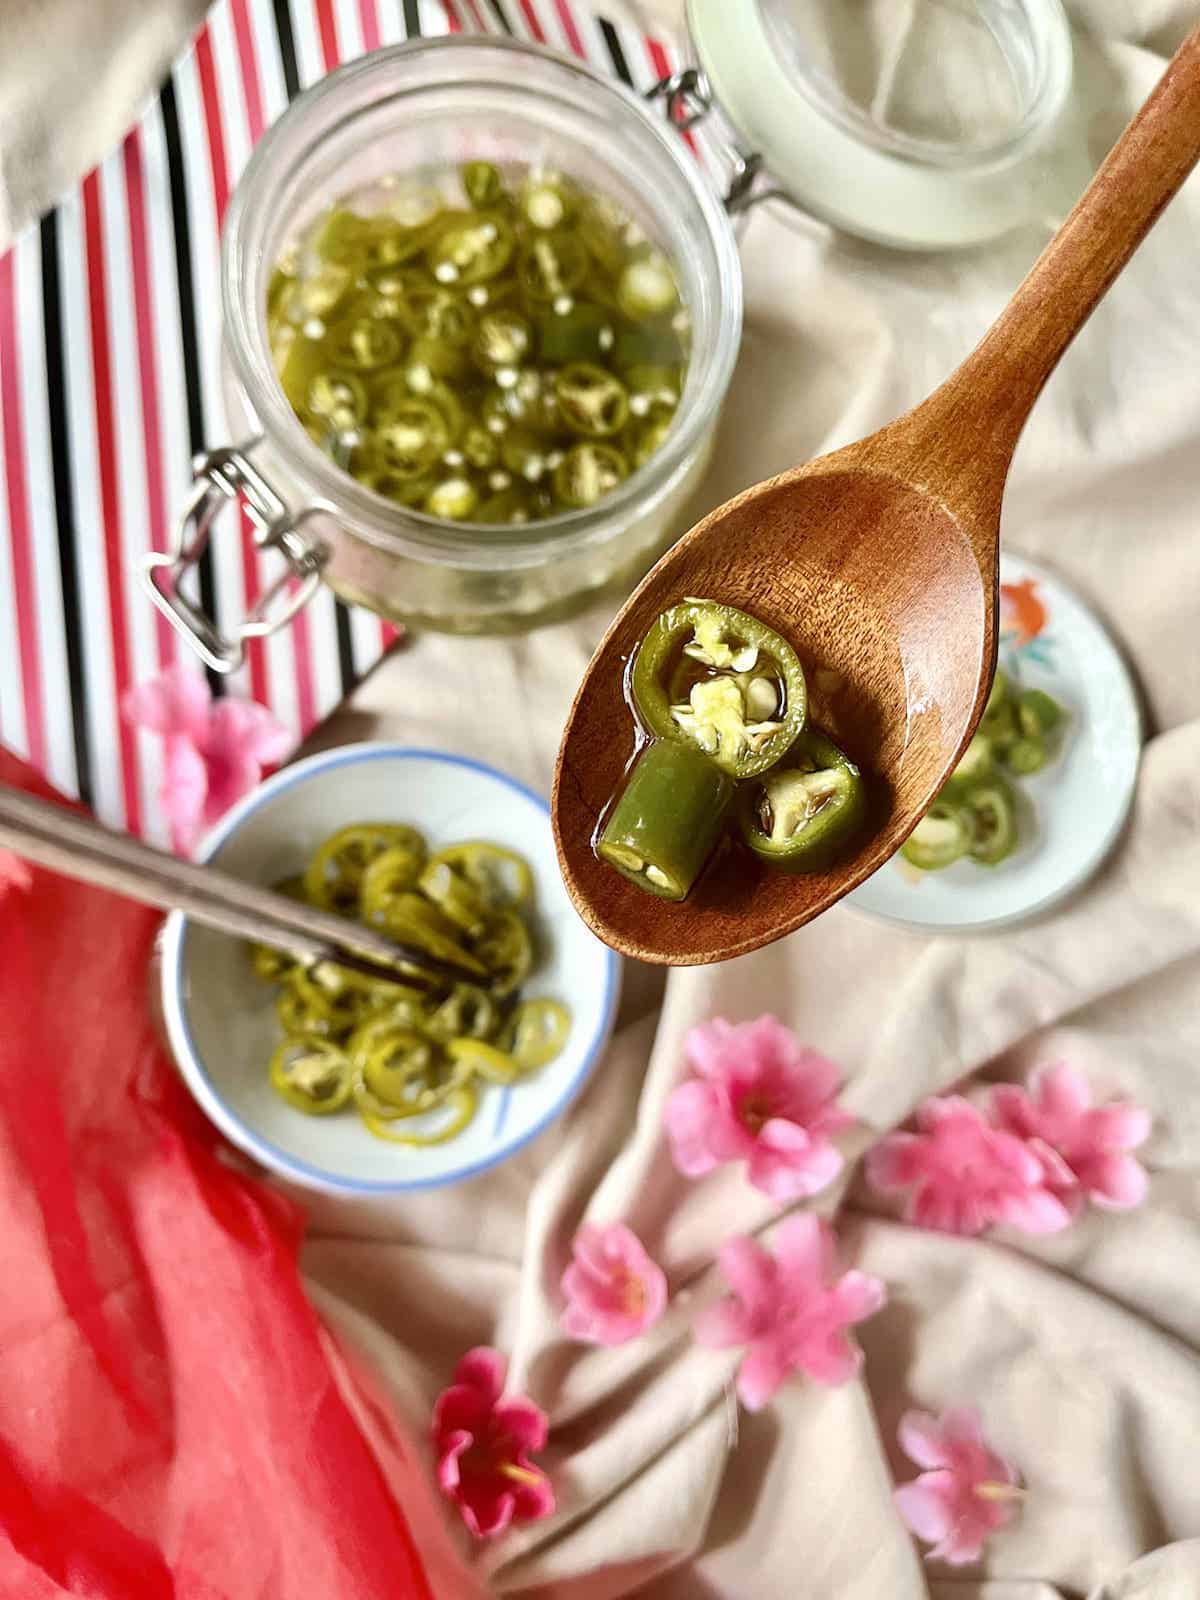
4. Close the jar tightly then refrigerate for 1 hour to overnight before using. You will see the color change after 1 hour.
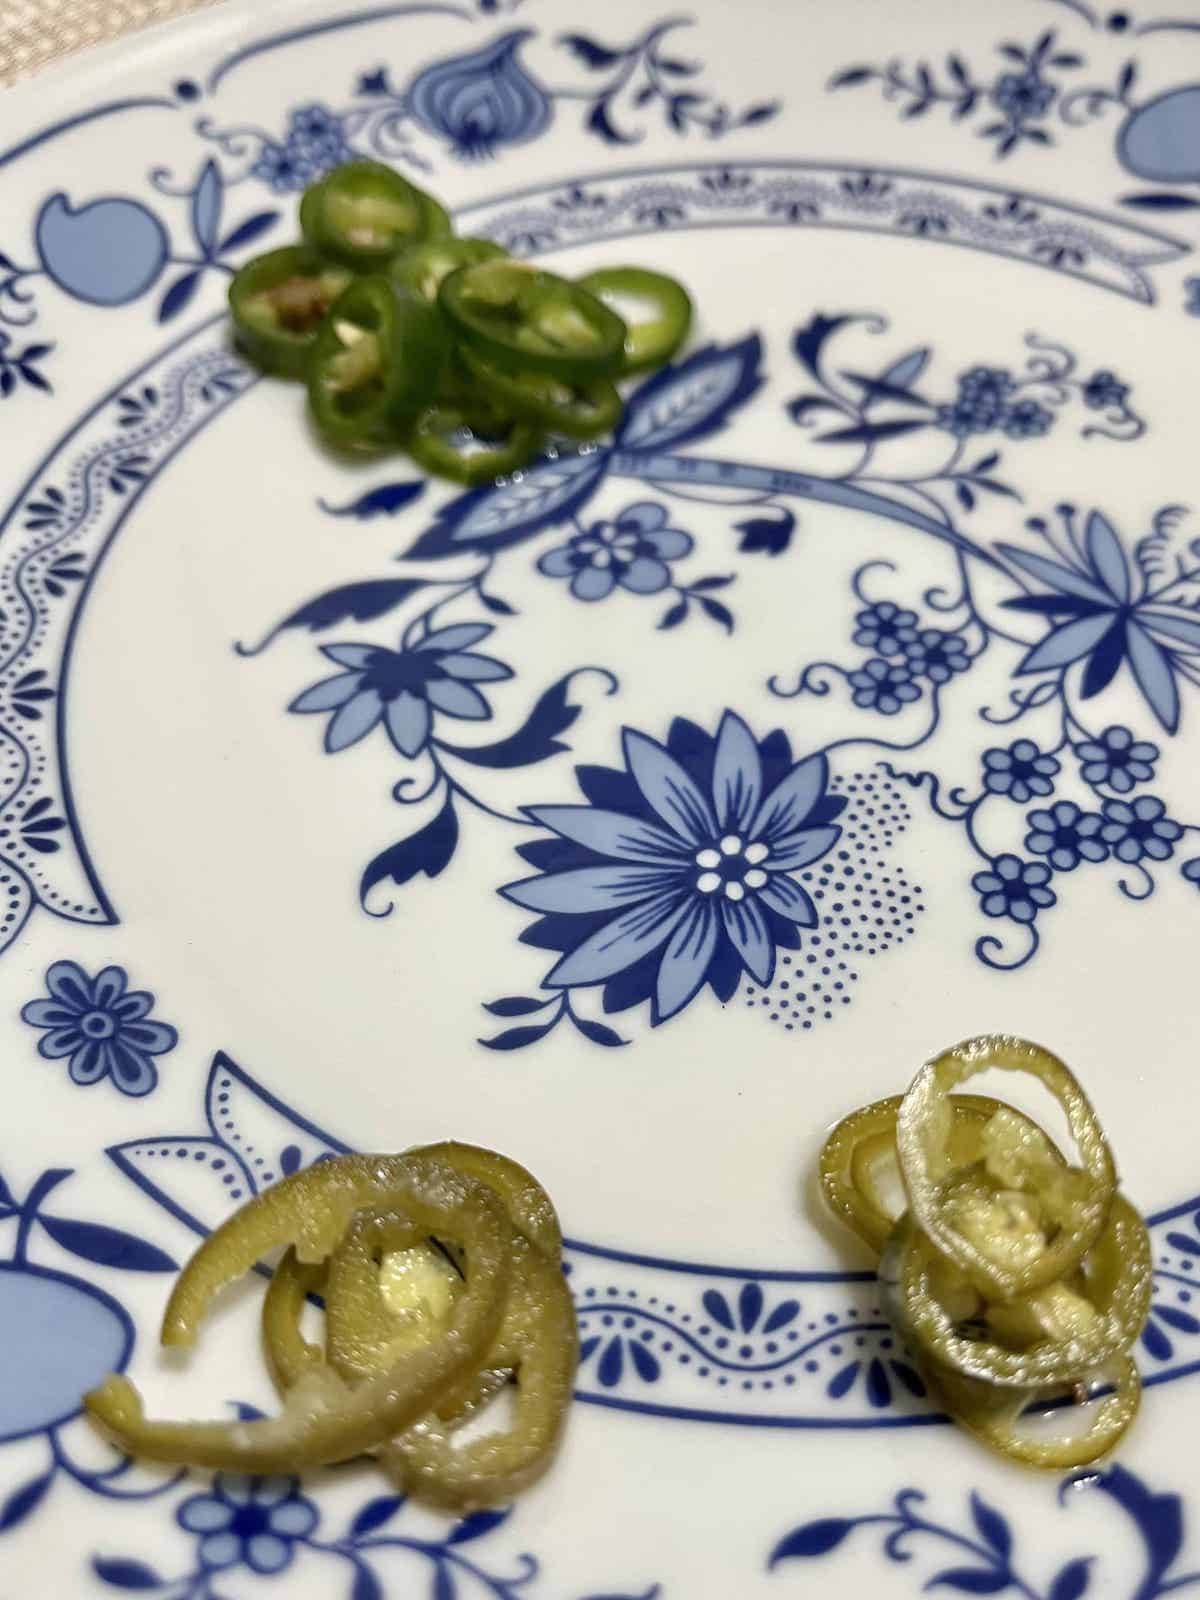
It's entirely up to you. In Asian cooking, we remove the seeds of the red chilies as the seeds bring the heat. However, green chilies are pretty mild so you don't have to worry too much about them. If you want to remove them, I recommend placing the sliced chilies on a colander and shaking- the seeds will naturally fall out of the holes!
🥡 How to Store
If you sterilise the jar with hot water before pickling, it lasts for a long time in the fridge.
In Singaporean hawker centres, they're even left out for the day at room temperature which can get quite hot! But I recommend refrigerating.
I keep mine for no more than 1 week in the fridge, but some people keep them for 2-weeks or even longer!
Note: make sure you use clean and dry spoons to get the chilies!
👩🏻🍳 Expert Tips
Tip #1: Make sure the chilies don't bring a lot of water to the vinegar solution to prevent spoilage. You may need a kitchen towel or paper towel to soak up any excess!
Tip #2: They can be mixed with light soy sauce, Chinese sesame oil and/ or scallions to make dipping sauces for Chinese dumplings and spring rolls!
🥗 Suggested Accompanying Recipes
Enjoyed this easy Cantonese Green Chili Recipe? Please leave a 5-star 🌟🌟🌟🌟🌟rating in the recipe card below! If you REALLY liked this dish, please consider supporting it by buying me a coffee! 🙂 (No obligation though!) Thank you and have a great day!
Quick Pickled Peppers (Sweet + Spicy + Hot)
Equipment
- Heat-proof jar No plastic as the brine is acidic, sterilised with boiling water.
- Non-reactive Pot
- Knife and chopping board
Ingredients
- 1 Cup large green chilies Stems removed and sliced into ⅓ inch rounds. (This was approximately 86g or 3 oz in weight. It will vary depending on how tightly the chilies are packed.) I usually use Spur chilli or Kashmiri chilli but you can also use Cayenne, Jalapeños or Serrano chilies. (Red chilies are OK too.) However, I would stay away from bird's eye chili or chili padi as these small chiles are super spicy!
- 1½ Cups boiling water or enough to cover the chilies, optional (This is for an optional step of soaking the chilies.)
- 1½ Cups white rice vinegar Add more if more is needed to cover the chilies and increase the sugar and salt proportionally. Substitute: equal amount of apple cider vinegar. The flavor does change slightly as the chilies will taste a bit modern.
- 1 Tablespoon white sugar I prefer to use less for health reasons. You can even use up to ⅔ the amount of vinegar! (1 Cup in this instance.)
- 1½ teaspoon salt
Instructions
- Optional: soak the chilies in hot water for 10-30 seconds. You can skip this step if you are going to boil the brine later. However, I recommend doing both to soften the chilies. If not the skin can be a bit tough!
- Optional: if you did the hot water soak, you can skip this but I recommend doing both.Bring the vinegar, salt and sugar (and other spices, if using) to a boil, stirring till all the sugar is dissolved.Remove and allow to cool.Note: if you're only doing 1 of the 2 optional steps, I recommend this over blanching as, if not, it can be difficult to ensure all the sugar is dissolved. (See below.)
- Strain the chilies (better if you want to shake out the seeds), using a slotted spoon or colander and place in a sterilised container.
- Pour the pickling solution mix over the chilies, ensuring all the chilies are submerged in the liquid.
- Close the jar tightly then refrigerate for 1 hour to overnight before using. You will see the color change after 1 hour. Enjoy!
Notes
Note: the nutritional information is an estimate automatically calculated using the WPRM recipe maker and I am not responsible for its veracity.
Nutrition
If this Asian Quick Pickles recipe was helpful, maybe you'd like to sign up for my newsletter in which I send you more tips and tricks to make authentic Asian food?


Dorene chew says
My domestic helper used your recipe for “green pickled chillies” and we had it for lunch with prawns and rice!! Love it